
Push Button Wiper Install: Australian Legal Checks & Fit Guarantee
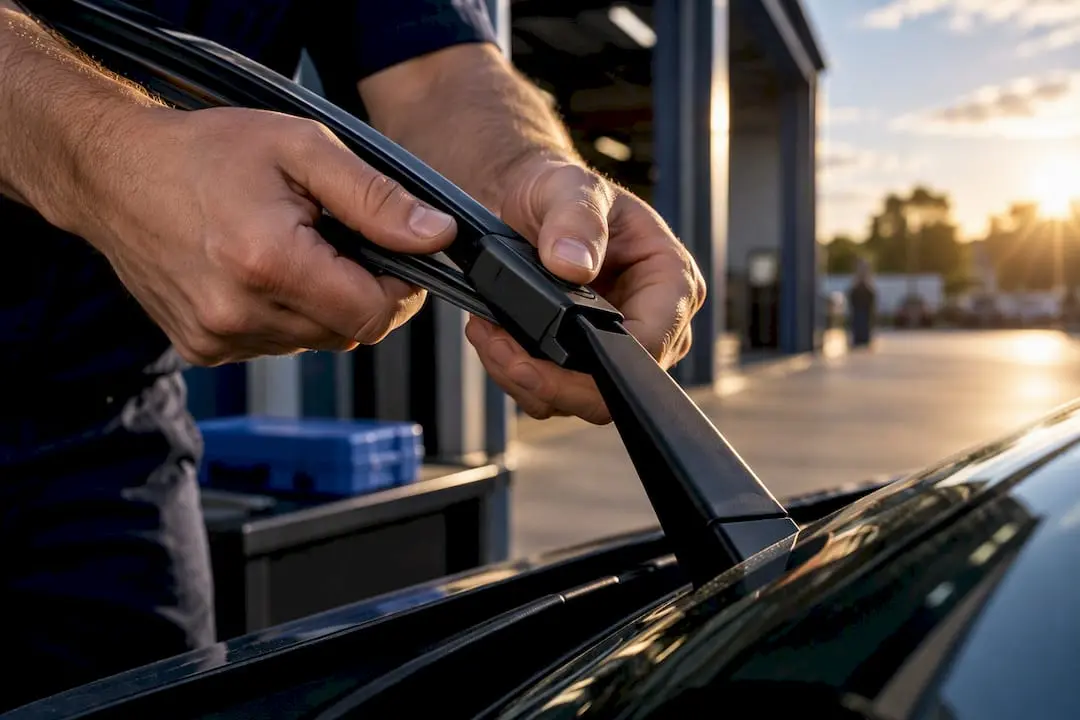
Installing push-button wipers comes down to four moves: press the button, slide the old blade off the arm, slide the new blade on until it clicks, then run a test wipe to check the sweep. Before you start, confirm your wiper actually uses a push-button connector, since J-hook, pinch-tab and side-pin arms need different handling. Keep the arm supported at all times. Never let it snap back onto bare glass, and never force a blade that won’t seat properly.
TL;DR:
- Confirm your vehicle uses a push-button connector before purchasing, as other fittings like J-hook, pinch-tab, or side-pin require different installation methods.
- Support the wiper arm at all times during installation to prevent damage or glass chipping, and check the arm’s condition for rust or bending before fitting new blades.
- Ensure the new blade clicks securely into place with a clear audible or tactile confirmation, and verify the curve and orientation match the sweep direction for proper operation.
- Replace both wiper blades simultaneously to avoid uneven wear and streaking caused by rubber degradation from UV exposure and heat.
- Regularly inspect blades every few months, replace them when cracked, frayed, or streaking occurs, and avoid using incorrect or generic blades that do not fit properly.
Table of Contents
- Preparing your vehicle before a push button wiper installation
- How do you tell if your wiper uses a push-button fitting?
- Step-by-step: how to install push button wiper blades
- Common mistakes after a push button wiper installation (and how to fix them)
- How often should you replace push button wiper blades?
- How GWC Wipers helps you avoid a fitment mistake
- Balancing DIY confidence with safety
- Get the right push-button fit for your car
- Sources
- FAQ
Preparing your vehicle before a push button wiper installation
A rushed install is how windscreens get scratched and arms get bent. Some vehicles let you set the wipers into a service position through the ignition or infotainment menu, which lifts the arms clear of the glass and gives you room to work. Check your owner’s manual first, because forcing an arm upright on a car with automated parking can strain the linkage or the wiper motor, according to RACV.
Lay a soft cloth or towel across the base of the windscreen before you touch anything. Have your new blades unboxed and ready, along with a microfibre cloth for wiping down the glass and rubber, and gloves if you’d rather keep your hands clean.
- New push-button wiper blades matched to your vehicle
- A microfibre cloth or towel to protect the glass
- Gloves (optional, but handy for grease and old rubber residue)
- An umbrella or shelter if you’re doing this in the rain
Hold the arm firmly throughout the job. An unsupported arm can drop onto the windscreen with enough force to chip it.
How do you tell if your wiper uses a push-button fitting?
Look at the end of the current blade where it meets the arm. A push-button connector has a small tab or button, usually sitting centrally or slightly offset, that you press inward to release a spring-loaded catch. It’s a distinct mechanism from the alternatives, and mixing them up is the fastest way to snap a clip.
- J-hook fitting: the arm ends in a curved hook that the blade’s back rail slots onto, with no button to press.
- Pinch-tab fitting: two small tabs on the sides of the connector need squeezing together before the blade slides free.
- Side-pin fitting: a pin runs through the side of the adaptor, usually released by flicking a small lever rather than pressing a button.
If you’re not certain which type your car uses, check the packaging on your existing blades or run your rego through a vehicle selector tool before you buy. Forcing a push-button release method onto a pinch-tab or side-pin arm won’t work, and you risk cracking the plastic adaptor on the arm itself.
Step-by-step: how to install push button wiper blades
Once you’ve confirmed the fitting, the job itself takes most drivers under 15 minutes per blade.
- Lift the arm away from the glass. Pull it up until it locks in the raised position, then lay your protective cloth underneath.
- Locate the push button on the old blade. It sits where the blade connects to the hooked end of the arm.
- Press the button and slide. With the button depressed, slide the blade down and off the arm in one smooth motion. Don’t yank it sideways.
- Check the arm hook for damage or corrosion before fitting anything new. A bent or rusted hook won’t hold a fresh blade securely.
- Orient the new blade correctly. The connector housing should face the arm, with the blade’s curve matching the sweep direction, not sitting upside down.
- Slide the new blade onto the arm until you hear or feel a click. That click means the push-button catch has engaged and locked the blade in place.
- Tug gently to confirm it’s secure. It should not wobble side to side or lift off with light pressure.
- Lower the arm back onto the glass carefully. Never let it drop or snap, particularly if you’ve removed your protective cloth.
- Repeat for the second blade, then run the washer jets and wipers together to test the full sweep.
Pro Tip: Replace both blades at the same time, even if only one looks worn. Rubber degrades from UV exposure and heat at a similar rate on both sides, so a mismatched pair often means uneven pressure and one side streaking within weeks.
Watch the test wipe closely. The blade should track the glass evenly across the full arc with no chatter, no skipping, and no dry patches. If one edge lifts or drags, the blade may be seated at a slight angle. The RACQ’s stepwise guide backs this same press, slide, click, test sequence as the standard method for push-button fittings.
Common mistakes after a push button wiper installation (and how to fix them)
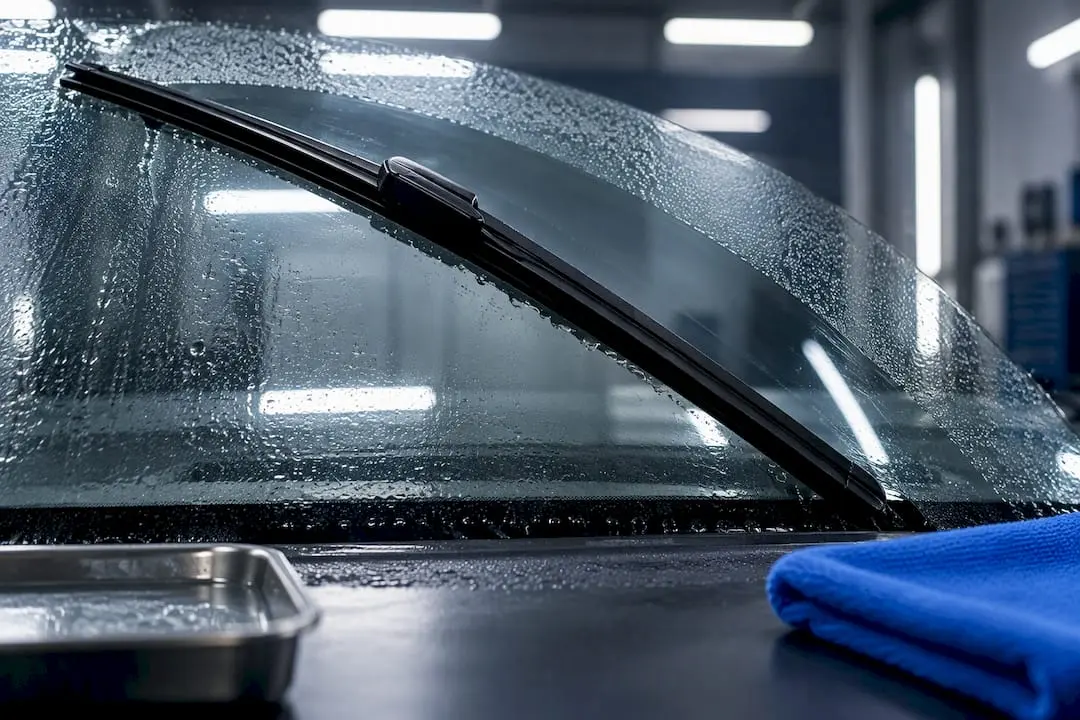
Most post-install problems trace back to one of three things: orientation, sizing, or a rushed fit.
- Upside-down blade: if the wiper judders or lifts off the glass at speed, check the curve is matched to the arm’s sweep direction and refit it the right way round.
- Wrong size for the vehicle: an oversized blade can hit the bonnet trim or A-pillar; an undersized one leaves streaks at the edges of the sweep. Confirm the correct length for your make and model before buying.
- Blade won’t click into the adaptor: don’t force it. Check for a bent claw, built-up grit, or a frayed backing rail, since a damaged adaptor often needs replacing rather than persisting with a hard push, per RACQ.
- Persistent streaking or chatter: clean the windscreen and rubber edge with a proper glass cleaner, since oil film and road grime on the glass causes exactly this symptom even with a brand-new blade. If streaking continues, the arm tension spring itself may be weak and worth checking with a mechanic.
How often should you replace push button wiper blades?
Inspect your blades every few months, and swap them out sooner if you notice cracking, fraying, or a rubber edge that’s gone hard and glassy. Motoring bodies including Safe Transport Victoria recommend replacing blades as soon as they shudder or leave streaks rather than waiting for a scheduled interval, since worn rubber degrades visibility fast once it starts.
Roadworthiness note: wipers that are missing, insecure, or not clearing the windscreen effectively can result in a defect notice from Australian transport authorities, meaning a worn blade isn’t just an annoyance, it’s a roadworthiness issue.
Keep the rubber and glass clean between changes, and where practical, park so the arms aren’t baking against hot glass all day, since UV and heat are what age the rubber compound fastest.
How GWC Wipers helps you avoid a fitment mistake
Getting the right push-button blade the first time beats guessing at a parts counter. Com’s vehicle selector matches blade length and connector type to your specific make, model and year, backed by a fitment guarantee if something doesn’t seat correctly.
- Preassembled adaptors mean you’re not hunting for a separate clip kit to make a push-button blade fit your arm.
- A detailed DIY install guide walks through the same press, slide, click sequence covered above, specific to your vehicle.
- Make-specific hubs for Toyota, Hyundai and Kia let you jump straight to the correct blade range without scrolling through unrelated models.
Balancing DIY confidence with safety
Replacing push-button wipers is one of the simplest jobs you can do on your own car, and most drivers manage it in a single visit to the driveway. Where I’d draw the line is arm condition. If the arm looks bent, corroded, or doesn’t sit flush against the glass under spring tension, that’s a mechanical issue no new blade will fix, and it’s worth a mechanic’s eye rather than more force from you.
— Faisal
Get the right push-button fit for your car
There’s no shortage of generic wiper blades at the local parts shop, but generic is exactly what causes push-button fitment headaches: wrong length, loose adaptors, blades that never quite click home. This range is built around a Perfect Fit approach, matching blades by make, model and year so the push-button set you order is designed to click into your arm on the first try.
Start at the wiper blades range, or jump straight to your make hub if you drive a Toyota, Hyundai or Kia. Every order ships free across Australia, carries a 12 month warranty, and comes with a 30 day money-back guarantee if the fit isn’t right. Pick your vehicle, confirm the fitment, and get the new blades on before the next downpour.
Sources
- Random vehicle inspection and defects | Queensland Government
- Drive safely this winter | Safe Transport Victoria
- How to change wiper blades | RACQ
- Easy DIY car maintenance tips and safety checks | RACV
FAQ
How do I install pinch-tab wipers instead of push-button ones?
Pinch-tab fittings release when you squeeze two small tabs on the sides of the connector, rather than pressing a single button. Once squeezed, the blade slides off the same way as a push-button type, but trying the button method on a pinch-tab arm won’t release the catch.
What is the wiper button actually called?
It’s generally referred to as a push-button release or push-button connector, sitting on the adaptor where the blade meets the arm. Some manufacturers also call it a quick-release tab, but the mechanism is the same spring-loaded catch.
Can I install windscreen wipers myself?
Yes, most drivers can replace push-button wipers themselves in a short time with no special tools, following the press, slide, click, test sequence outlined by RACQ. If the arm is bent, corroded, or the blade won’t seat after checking for debris, that’s the point to get a mechanic involved.
How do I install a J-hook wiper blade?
A J-hook blade has no button. You lift the small locking tab, slide the blade’s back rail off the hooked end of the arm, then slide the new blade on until the tab clicks back into place. It’s a different release action from a push-button fitting, so check which connector your car actually has before starting, using your packaging or Com’s vehicle selector to confirm.