
Stop Wiper Chatter After Windshield Ceramic Coating: Australian Fixes
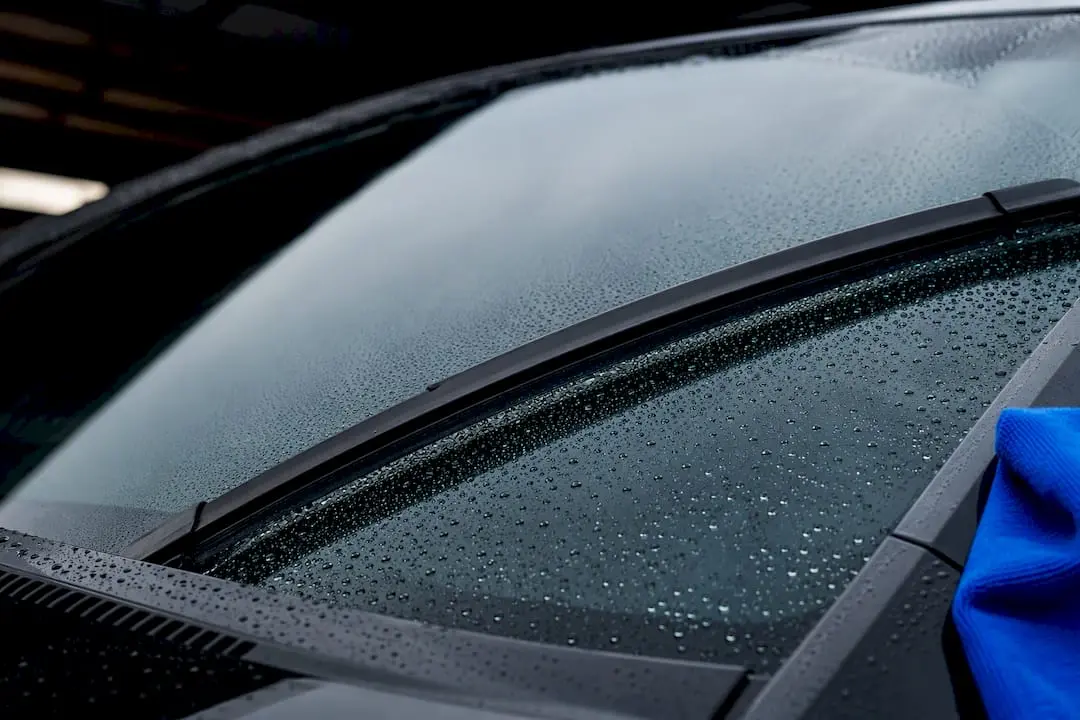
Yes, a windshield ceramic coating genuinely improves rain visibility and makes glass easier to clean, but only when the surface is prepared and cured properly. Skip the prep or rush the cure, and you’ll see patchy beading and premature failure within weeks. Applied correctly, expect sheeting water and dramatically reduced wiper reliance the very first time you drive through rain.
TL;DR:
- Proper surface preparation, including machine polishing with cerium oxide, is critical to prevent patchy beading and ensure long-lasting ceramic coating performance.
- Glass-specific ceramic formulas bond correctly with silica and resist hazing, unlike paint coatings or cheap rain repellents that wear faster and create uneven coverage.
- Coating longevity is usually one to two years and heavily depends on proper curing, avoiding abrasive washes, and regular hydrophobic maintenance.
- Wiper blades and their fitment significantly impact wiper chatter on coated glass, with low-quality or worn blades causing noise and skipping issues.
- Coating benefits are most pronounced for highway drivers and those in rainy or freezing climates, while impact protection requires additional film application.
Table of Contents
- How windshield ceramic coating works and what it actually delivers
- Glass coatings vs paint sealants vs protection film
- How to prepare and apply ceramic coating on glass
- How long does ceramic coating last, and what shortens it?
- Fixing wiper chatter, distortion and hard water spots
- DIY kit or professional application: which suits you?
- Fixing chatter through better wiper compatibility
- Is your windshield actually a good candidate for coating?
- Safety precautions during application
- Who actually benefits most from a windshield coating?
- Why your blades matter as much as your coating
- Sources
- FAQ
How windshield ceramic coating works and what it actually delivers
A ceramic coating for glass is built on silicon dioxide (SiO2) or silane chemistry that bonds to the silica already present in your windscreen. Once cured, it forms a thin, hard layer that fills the microscopic pores in the glass surface, creating a barrier that water simply can’t grip onto the way it does on bare glass.
That barrier changes the physics of how water behaves on your windscreen. Uncoated glass has a low contact angle, meaning water spreads into a film that smears under your wipers and refracts headlights into a blinding glare at night. A properly cured ceramic coating pushes that contact angle up significantly, forcing water into tight beads that shed rather than spread.
The practical payoff shows up the moment you hit the road in wet weather. Field reports and practitioner testing commonly find that beading and shedding become effective at speeds as low as 30 mph, or roughly 50 km/h — well below typical highway speed. That means once you’re cruising, airflow alone clears most of the water before your wipers even need to engage.
Drivers who’ve coated their windscreens consistently report a cluster of benefits that go beyond “water looks cooler”:
- Reduced wiper dependence at speed — beading sheds naturally above around 50 km/h, cutting how often you need to run the wipers on the motorway.
- Easier cleaning — bugs, tar, and road grime release with a rinse instead of scrubbing, because they can’t bond to the sealed surface.
- Improved night-time clarity — less smearing means less glare distortion from oncoming headlights, which matters enormously on unlit country roads.
- Reduced micro-pitting from sand and grit — the sealed surface gives fine abrasive particles less to bite into during a wash.
- Better ice release in cold snaps — a hydrophobic surface holds less moisture to freeze in the first place, so light frost lifts away more easily.
None of this replaces your wipers entirely. Heavy downpours, standing water, and low-speed driving in the wet still need proper blade contact, which is exactly why coated glass and coated blade quality need to work together rather than against each other. We’ll get to that friction point later, because it’s the single most common complaint we hear about after a coating job.
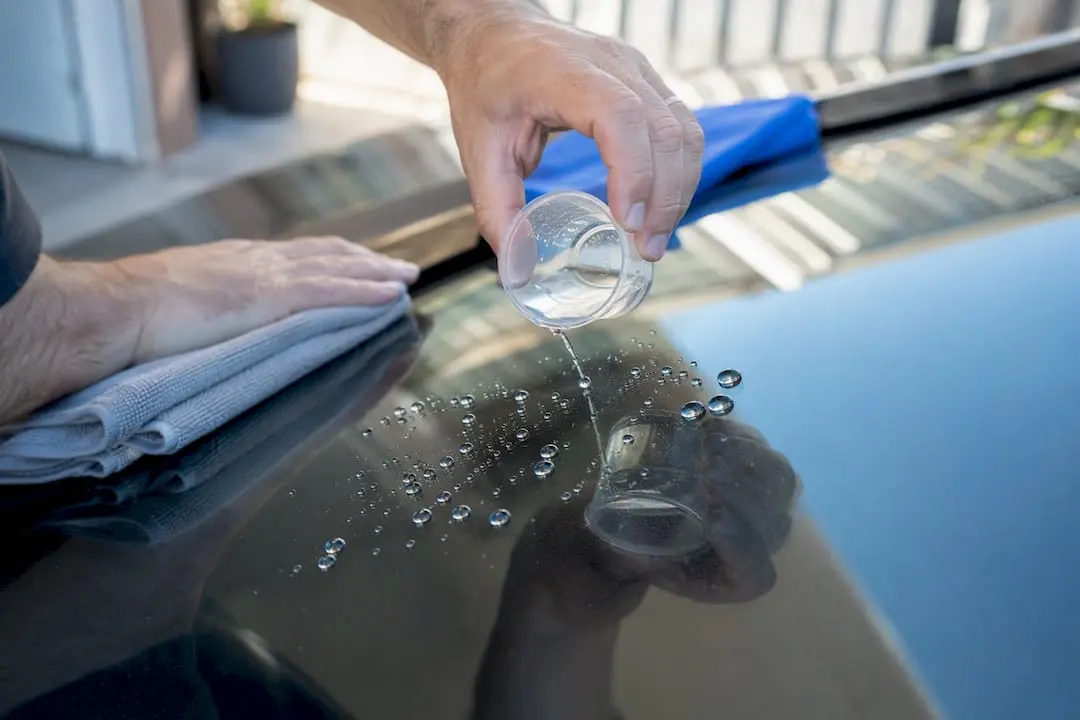
Pro Tip: Test hydrophobicity before you commit to a full coating job. Splash a cup of water on a small, freshly cleaned patch of glass. If it beads and rolls immediately, your glass is in good shape for coating; if it sheets flat, you’ve likely still got contamination or old wax residue to remove first.
Glass coatings vs paint sealants vs protection film
The word “ceramic” gets used loosely across the detailing industry, and that looseness causes real problems on glass. Silane, siloxane, and silica resin chemistries all get marketed under the same “ceramic” banner, but only formulas engineered specifically for glass are built to bond properly with the silica structure of automotive windscreens.
Paint-based ceramic coatings are formulated to bond with clear coat, not bare silica. Applied to glass, they often cure unevenly, leaving hazy patches or streaks that are far more obvious on a windscreen than on a painted panel, simply because you’re looking straight through it at speed. Spray-on rain repellents sit even further down the durability scale. They’re genuinely useful as a stopgap, but most consumer-grade repellents only last three to six weeks before they need reapplying, compared with a properly cured glass-specific coating.
Here’s how the main options stack up for windscreen use:
- Glass-specific ceramic coatings — engineered to bond with silica, resist haze, and tolerate wiper contact without premature wear.
- Paint/body ceramic coatings — formulated for clear coat chemistry, prone to hazing and uneven cure when used on glass.
- Spray-on rain repellents — cheap and easy but short-lived, typically needing reapplication within weeks.
- Protective film — a physical polyurethane layer, not a chemical coating, used primarily for impact resistance rather than water beading.
Protection film deserves its own mention because it solves a different problem entirely. Professional detailers are clear that glass-specific coatings improve hydrophobic performance and cleaning but do not prevent rock chips, which means film is the better choice if your main worry is highway stone damage rather than rain clarity. Coating and film aren’t competitors. If you drive a lot of gravel roads or follow trucks on the highway, some owners run both, film for impact protection underneath, coating for the hydrophobic finish.
Retail shelves and online listings will show you glass-specific options like Gtechniq G1 ClearVision Smart Glass, Drexler Glass Coat, Gyeon Q2 View EVO, and Chemical Guys HydroView. Each is formulated as a dedicated glass product rather than a repurposed paint coating, which is the detail that matters more than the brand name on the bottle.
How to prepare and apply ceramic coating on glass
Surface preparation is where most windscreen coating jobs succeed or fail, and it’s not close. Proper surface preparation, including machine polishing with cerium oxide, is the most common determinant of coating success — skip it, and you’re likely to see visible failure lines and boundary marks within weeks, right where the wiper blades travel.
Work through these steps in order, and don’t shortcut any of them:
- Wash the glass thoroughly with a pH-neutral car shampoo to strip loose dirt, road film, and old wax or sealant residue.
- Clay bar the surface to lift embedded contamination, tar spots, and bonded grime that a wash alone won’t shift.
- Treat mineral deposits from hard water spots or sprinkler overspray with a dedicated glass water spot remover before moving to polishing.
- Machine polish with cerium oxide on a dedicated glass polishing pad. This is the step that removes fine etching, old repellent residue, and the haze that ordinary washing can’t touch, and it’s non negotiable for a lasting finish.
- Wipe down with isopropyl alcohol (IPA) on a clean microfibre to strip any polishing residue and leave a chemically bare surface for the coating to bond to.
- Check ambient temperature and humidity. Most glass coatings apply best between 10°C and 25°C, out of direct sun, and away from high humidity that can flash the product too fast.
- Apply in a cross-hatch pattern, working small sections at a time so you don’t outrun the product’s flash window.
- Watch for the flash window stated on the product, usually a minute or two, then level and buff with a clean, dedicated glass microfibre before it fully hazes over.
- Inspect under raking light for high spots or streaking and correct immediately with a fresh buffing pass while the coating is still workable.
- Leave the vehicle stationary and dry for the specified initial cure period before any exposure to rain or a wash.
Cure discipline matters as much as the application itself. Ceramic coatings need a controlled window to harden, and rushing exposure to water or wipers during the first 12 to 24 hours causes immediate degradation of the finish you just applied. Full hardness typically develops over several days, so resist the urge to run the wipers “just to check” the morning after.
Pro Tip: Park under cover if rain is forecast within the first 24 hours of curing. If you can’t avoid it, cover the windscreen with a clean towel rather than let uncured product take a direct hit from rain, which can wash away sections before they’ve bonded properly.
How long does ceramic coating last, and what shortens it?
Expect a professionally applied glass ceramic coating to last one to two years, or roughly 30,000 wiper cycles, with the caveat that the zone inside the wiper arc wears out faster than the glass above and below it. Inside the arc, where blades physically drag across the coating frequently, a few months of strong hydrophobic performance is a more realistic expectation before you notice beading start to flatten out. Outside the arc, where nothing but weather touches the glass, the same coating can comfortably outlast a year with proper care.
Several everyday habits accelerate that decline. Automatic car washes with abrasive brushes are one of the fastest ways to strip a coating prematurely, since the brushes drag grit across the surface with far more pressure than a hand wash. Hard water left to dry on the glass leaves mineral deposits that etch into the coating over repeated cycles rather than sitting harmlessly on top. Worn or cheap wiper blades compound the problem by dragging debris across the treated surface with every pass, which is a maintenance issue as much as a coating one.
Testing remaining hydrophobicity is simple and takes thirty seconds. Splash water on the glass and watch the bead shape: tight, round beads that roll off mean the coating is still active, while flat sheeting or slow-draining puddles mean it’s time to top up. Practitioners who apply a maintenance spray on a quarterly schedule report it noticeably extends functional life in the wiper arc specifically, which is the zone doing the most work and wearing out fastest. A dedicated ceramic maintenance spray, distinct from a general glass cleaner, can often restore hydrophobic performance within minutes when beading starts to fade, without requiring a full strip and reapply.
Fixing wiper chatter, distortion and hard water spots
Wiper chatter is the complaint we hear about most after a windscreen coating job, and it’s rarely the coating’s fault. In most cases, judder traces back to surface high spots, leftover polish residue, or worn wiper blades rather than any flaw in the ceramic chemistry itself. A slick, low-friction surface simply exposes blade problems that were already there, masked previously by the natural grip of untreated glass.
Work through these fixes in order before assuming the coating has failed:
- Inspect blade condition first — cracked, hardened, or unevenly worn rubber will chatter on any surface, coated or not.
- Replace with fresh, correctly fitted blades, ideally silicone or premium rubber rated for hydrophobic glass, since generic blades tend to skip on a low-friction surface.
- Check wiper arm spring tension — arms with weakened pressure can’t maintain consistent contact across a slicker surface and will hop instead of sweeping smoothly.
- Clean the blade edge with isopropyl alcohol to strip any coating overspray that transferred onto the rubber during application.
Visual distortion is a different problem, usually caused by uneven product thickness or a rushed buffing pass that left streaks or high spots. There’s no shortcut here: strip the coating back with a dedicated glass polish, machine polish again with cerium oxide to get back to a genuinely level surface, and reapply from scratch. Trying to layer more coating over a distorted patch only compounds the unevenness.
Hard water spotting shows up as cloudy, ring-shaped marks that build up from mineral-rich water drying on the glass repeatedly. Light spotting often lifts with a dedicated water spot remover applied to the coated surface. Heavier, etched-in spotting usually means the mineral deposits have gone deeper than the coating layer, and re-polishing followed by a fresh coating application is the only real fix.
Pro Tip: If chatter appears within the first week of a new coating, check your blades before touching the glass at all. Nine times out of ten it’s the blade, not the coating, and swapping to a properly fitted set resolves it in minutes.
DIY kit or professional application: which suits you?
DIY kits cost considerably less upfront and let you control timing, but they demand patience and a controlled environment: shade, stable temperature, and no dust blowing around while the product is curing. Skimp on any of those conditions and you risk the exact haze and uneven-bond problems covered above.
Professional application costs more but includes machine-level polishing and a controlled curing environment for best results, and often a workmanship warranty if beading fails early. DIY kits are generally more affordable but may require purchase of polishing supplies separately, but that price doesn’t include the polishing pads, cerium oxide, and IPA you’ll likely need to buy separately for a proper job.
Weigh it up like this:
- Choose DIY if you’re comfortable with paint correction tools, have a clean, shaded space to work in, and want to save on labour costs.
- Choose professional if you want a warrantied result, lack access to a dust-free workspace, or you’ve already had a DIY attempt fail once.
- Either way, budget for polishing supplies separately from the coating product itself, since a bare coating kit without proper prep gear rarely gives a lasting result.
Fixing chatter through better wiper compatibility
Most post-coating judder complaints trace back to blades rather than chemistry, which means the fix usually sits in your parts bin, not your detailing kit. Replacing wiper blades immediately after the coating cures, and choosing silicone or premium rubber blades with correct arm pressure, resolves most complaints at low cost.
Run through this quick checklist before assuming the coating itself is the problem:
- Check blade edges for cracking, hardening, or uneven wear under good light.
- Confirm arm spring tension is holding consistent pressure across the full sweep.
- Match blade material and fitment to your specific vehicle rather than grabbing a generic size.
- Clean blades with isopropyl alcohol to remove any coating transfer from the application process.
If you’re unsure which blade fits your vehicle, a proper fitment tool takes the guesswork out of matching blade type to your make and model, which matters more on coated glass than untreated glass because the margin for a poor fit is much smaller.
Is your windshield actually a good candidate for coating?
Not every windscreen is ready for ceramic coating straight away, and checking condition first saves you from paying for a job that fails within weeks. Start by inspecting the glass for existing chips, cracks, or deep pitting. Coating won’t hide structural damage, and applying product over a chip can trap moisture in a way that accelerates a crack spreading.
Check for old repellent or wax residue next. If your windscreen has ever had a spray-on rain repellent, silicone-based wax, or an aftermarket sealant applied, that residue needs to come off completely during the clay and polish stages, because ceramic products won’t bond properly over old chemistry. This is the single biggest reason coatings billed as “failed” actually just failed to bond in the first place.
Age and wear matter too. Older glass with years of accumulated micro-scratching from wiper use or automatic car washes may need a more aggressive cerium oxide polish before coating, simply to get back to a clean, unblemished surface for the product to grip. If the glass is heavily pitted or scratched beyond what polishing can correct, coating will seal in that texture rather than smooth it out, so temper your expectations accordingly.
Finally, consider your driving pattern. If you’re mostly doing short city trips in dry weather, the payoff is smaller and the coating will spend more time idle than working. If you’re regularly driving in rain, frost, or on the highway, the benefit shows up almost every time you’re behind the wheel.
Safety precautions during application
Ceramic coating products for glass are generally low-hazard compared with industrial detailing chemicals, but they’re not risk-free, and a few precautions matter. Work in a well-ventilated space, ideally with the garage door open or outdoors in shade, since the solvent carriers in most glass coatings release fumes during application and cure.
Wear nitrile gloves throughout the process. Cerium oxide polish and isopropyl alcohol can dry out and irritate skin with repeated contact, and the coating itself can bond to skin the same way it bonds to glass, making it genuinely difficult to remove once cured. Eye protection is worth having on hand too, particularly during the machine polishing stage, where fine cerium oxide dust can kick up if you’re working with a high-speed buffer.
Keep the coating away from painted panels, trim, and rubber seals during application. Most glass-specific formulas aren’t designed for painted surfaces, and overspray left to cure on trim can leave a stubborn residue that’s harder to remove than the coating on glass itself. Masking off the surrounding trim with painter’s tape before you start is a five-minute step that saves considerable frustration afterwards.
Finally, never coat a windscreen with existing chips or cracks without addressing them first. Trapping moisture or coating chemistry inside a crack can accelerate its spread across the glass, turning a repairable chip into a full windscreen replacement.
Who actually benefits most from a windshield coating?
Highway commuters get the clearest payoff, since beading kicks in around 50 km/h and does most of the work at cruising speed. Drivers in frequent rain or frost-prone regions also see strong, consistent value, both from reduced wiper wear and easier ice release on cold mornings.
If you’re mostly doing short city trips in light traffic with rare rain, the return is smaller. Coating won’t address chip protection either, so if flying gravel on the highway is your main worry, pair the coating with a protective film rather than expecting the coating alone to solve it. For high-debris driving, running both together covers water clarity and impact resistance in one setup, rather than compromising on either.
— Faisal
Why your blades matter as much as your coating
A brand-new ceramic coating exposes tired wiper blades fast. Once the glass goes slick, worn rubber that used to grip fine on bare glass starts hopping, skipping, and chattering the moment it can’t find enough friction to sweep cleanly. That’s not a coating fault. It’s a blade fitment problem that’s been hiding in plain sight.
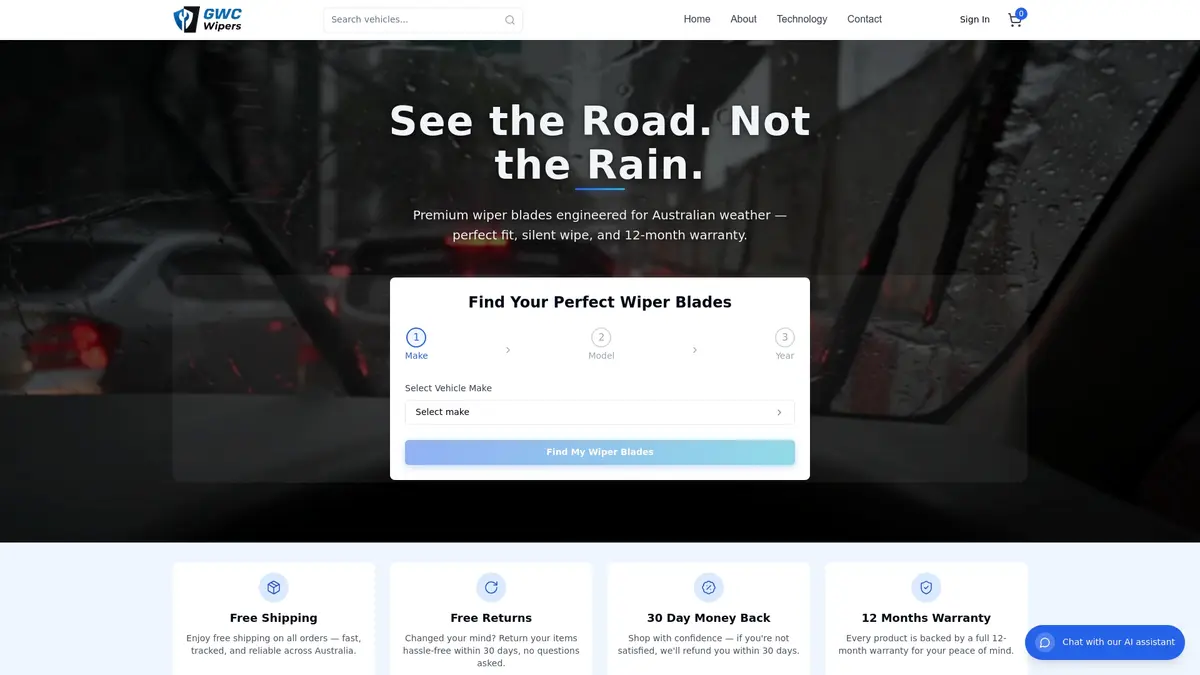
Some companies build wiper blades specifically for fitment precision and material toughness suited to coated windscreens, with segmented pressure distribution to hold consistent contact on low-friction surfaces. Matching blades to exact vehicle make, model, and year through a vehicle selector, along with guarantees, free shipping, return policies, and warranties, varies by supplier. If you’ve just had your windscreen coated, or you’re planning to, check your current blades against the vehicle selector before your next rainy drive and fit a set built to match your coated glass, not fight it.
Sources
For prep and cure guidance, QuickFix Windshields covers polishing technique in detail, while AllinCC breaks down cure windows more precisely. Ceramic Pro explains the coating versus film distinction, and SONAX Australia and Diamondbrite both offer solid ongoing maintenance advice. Favour glass-specific product pages and trained installers over generic detailing forums when in doubt.
- Ceramicar — Windshield and glass coating
- QuickFix Windshields — Ceramic coating for glass (prep, cure and lifespan)
- Ceramic Pro — Can I ceramic coat glass?
- SONAX Australia — The dos and don’ts of ceramic coating maintenance
FAQ
Does ceramic coating work on windshields?
Yes, glass-specific ceramic coatings genuinely improve water beading, visibility in rain, and ease of cleaning, provided the surface is properly prepped and cured before use.
What are the negatives of ceramic coating?
The main drawbacks are the risk of wiper chatter if blades aren’t upgraded to match the slicker surface, a demanding prep and cure process, and the fact that coatings don’t protect against rock chips the way film does.
What’s the best ceramic coating for a windshield?
Glass-specific formulas such as Gtechniq G1 ClearVision Smart Glass, Drexler Glass Coat, Gyeon Q2 View EVO, and Chemical Guys HydroView are all built for automotive glass rather than paint, which matters more than any single brand name.
Which is better, ceramic coating or glass coating?
They’re the same category when the product is labelled specifically for glass; the real distinction to watch for is glass-specific chemistry versus paint-based ceramic coatings, which can haze or wear unevenly on a windscreen.
How much does professional windshield ceramic coating cost?
Professional windscreen-only application typically runs into the hundreds of dollars depending on your location and product, while DIY kits cost considerably less but require separate polishing supplies for a lasting result.