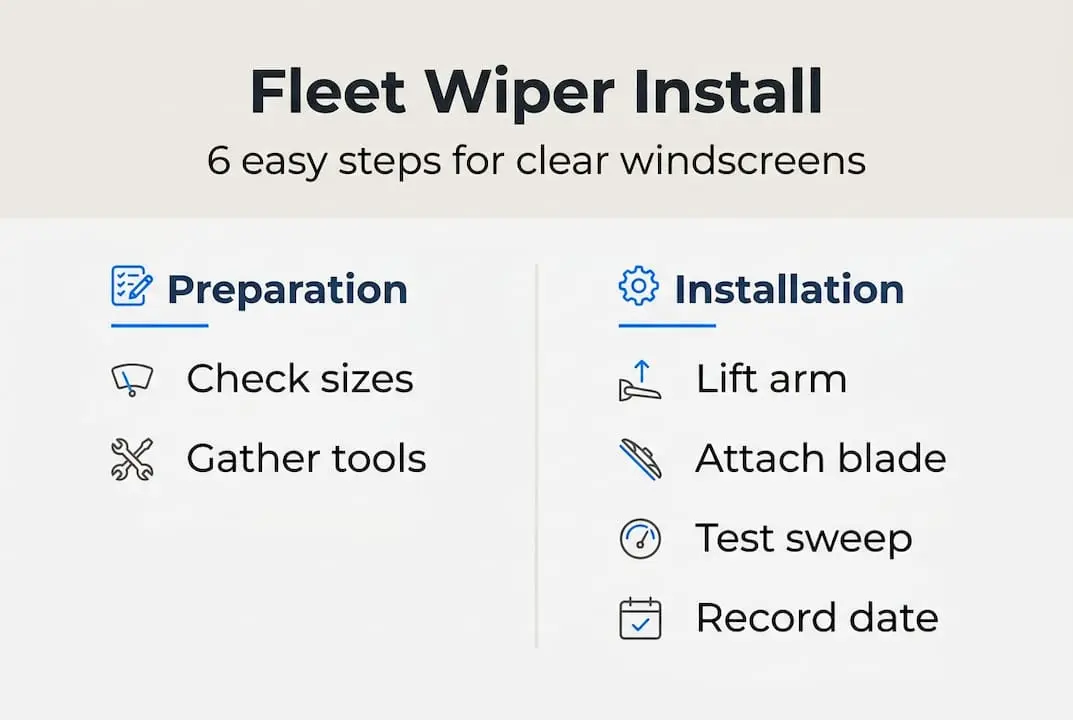
Fleet wiper installation: ensure clear vision in 6 steps
TL;DR:
- Premium wiper blades offer longer lifespan and better all-weather performance for Australian fleets.
- Proper preparation, sizing, and consistent maintenance are crucial for safe, reliable wiper operation.
- Proactive replacement based on scheduled intervals reduces risks and costly emergency repairs.
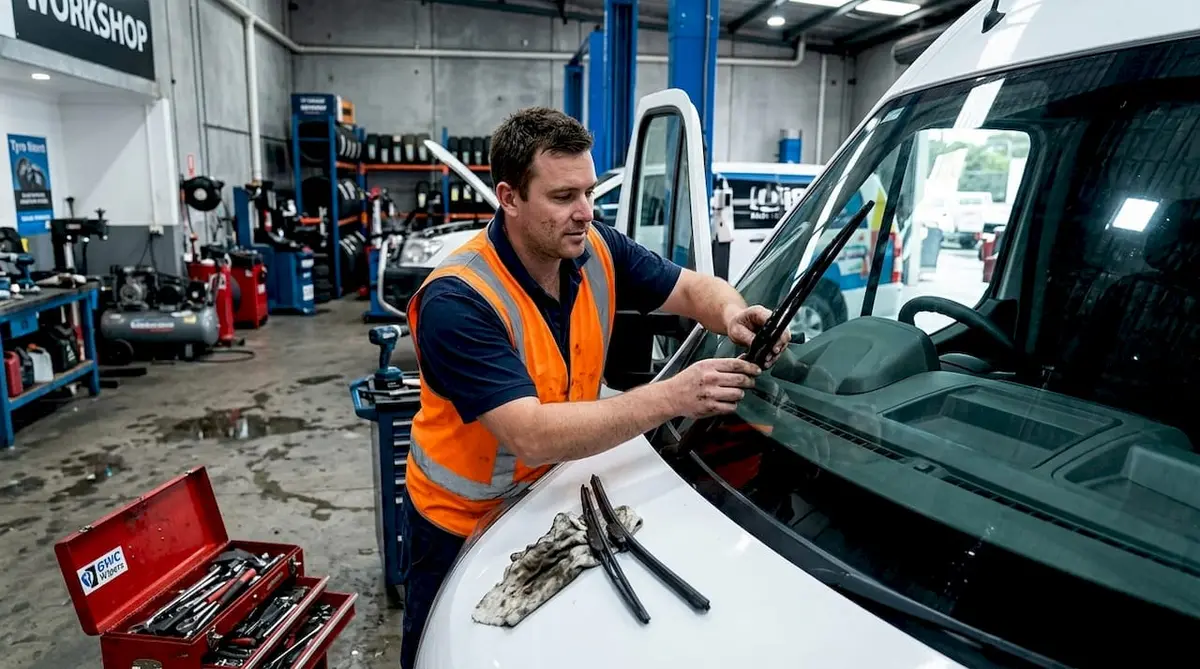
Fleet vehicles operating across Australia face some of the most demanding driving conditions on earth. From tropical downpours in Queensland to freezing alpine roads in Victoria, worn wiper blades can compromise driver safety within seconds. Fleet wiper blades often fail due to gradual wear, leaving drivers with streaked windscreens and reduced visibility at the worst possible moments. This guide covers everything your team needs: how to select the right blades, prepare for installation, complete the swap efficiently across multiple vehicles, and maintain performance long-term.
Table of Contents
- Why premium wiper blades matter for fleets
- What you need before installing fleet wipers
- Step-by-step fleet wiper installation process
- Testing, troubleshooting, and maintaining your fleet wipers
- What most fleet managers overlook about wiper maintenance
- Get premium fleet wiper blades delivered Australia-wide
- Frequently asked questions
Key Takeaways
| Point | Details |
|---|---|
| Replace regularly | Change fleet wiper blades every 6–12 months to maintain safety. |
| Prepare tools first | Gather the correct blade size, adaptors, and cleaning supplies before starting. |
| Follow each step | Carefully follow the installation and testing steps for best results. |
| Inspect and log | Record wiper replacements and visually inspect blades during fleet checks. |
Why premium wiper blades matter for fleets
For fleet operators, a single vehicle off the road due to an incident costs far more than a set of replacement wiper blades. Premium blades are engineered with advanced materials, aerodynamic designs, and high-tension springs that maintain consistent contact across the windscreen. In heavy Australian rain, that consistent contact is what separates a safe stop from a preventable collision.
Regular replacement is not optional. It is a core part of responsible fleet management. Industry guidance recommends replacing blades every 6 to 12 months, or sooner when signs of wear appear. In harsh Australian conditions, UV exposure and extreme heat accelerate rubber degradation significantly, so the lower end of that range is often more appropriate for vehicles operating in northern or outback regions.
Here is a quick overview of how premium blades compare to standard options across key performance areas:
| Feature | Standard blades | Premium blades |
|---|---|---|
| Material | Basic rubber | Silicone or reinforced rubber |
| UV resistance | Low | High |
| Lifespan | 3 to 6 months | 6 to 12 months |
| All-weather performance | Moderate | Excellent |
| Aerodynamic design | Rarely | Standard |
For fleet managers, the operational benefits of premium blades go beyond visibility. Fewer replacements mean less downtime, reduced labour costs, and a more predictable maintenance schedule. Stocking the most common blade sizes across your fleet also simplifies the swap process and avoids delays when a blade fails unexpectedly.
Key fleet management practices that improve wiper reliability include:
- Track replacement intervals per vehicle using your maintenance software or a simple logbook
- Stock common sizes to avoid supply delays when a blade fails in the field
- Combine wiper checks with existing scheduled inspections to reduce admin overhead
- Train drivers to report streaking, squeaking, or skipping immediately rather than waiting for a scheduled service
When choosing the right size for each vehicle in your fleet, always cross-reference the driver and passenger blade lengths separately. Many vehicles use different sizes on each side, and fitting the wrong length reduces wipe coverage and increases wear.
Pro Tip: Create a simple reference sheet for your maintenance team listing each fleet vehicle’s make, model, year, and correct blade sizes. Laminate it and keep it in your workshop. It saves time and eliminates guesswork during busy service periods.
With the importance of reliable wipers understood, it is vital to prepare your fleet and tools before starting installation.
What you need before installing fleet wipers
Rushing into a wiper installation without the right preparation leads to mistakes. Blades fitted incorrectly can scratch windscreens, detach at speed, or fail to clear water effectively. Taking five minutes to gather your materials and check each vehicle first pays off every time.
Here is what you need before you begin:
- Correct blade sizes for each vehicle (driver and passenger sides separately)
- Clean cloth or microfibre towel to wipe down the wiper arm and windscreen
- Gloves to protect your hands and avoid transferring oils to the blade rubber
- Appropriate adaptors if your blades do not come pre-fitted with a universal connector
- Vehicle reference sheet to confirm the correct blade for each model in your fleet
Different fleet vehicles use different arm connector types. Here is a comparison of the most common types and what to look for:
| Connector type | Common vehicles | Adaptor required? |
|---|---|---|
| Hook arm (J-hook) | Most sedans and utes | Usually included |
| Pinch tab | Toyota HiLux, Ford Ranger | Check blade packaging |
| Side pin | Older fleet models | May need separate adaptor |
| Top lock | Some European models | Confirm before ordering |
| Bayonet arm | Certain Holden and Mitsubishi models | Specific adaptor needed |
Before touching the wiper arm, always clean the windscreen and the arm itself. Grit and debris trapped under a new blade will cause scratching and reduce the blade’s lifespan from day one. This is a step many technicians skip, and it costs them in premature wear.
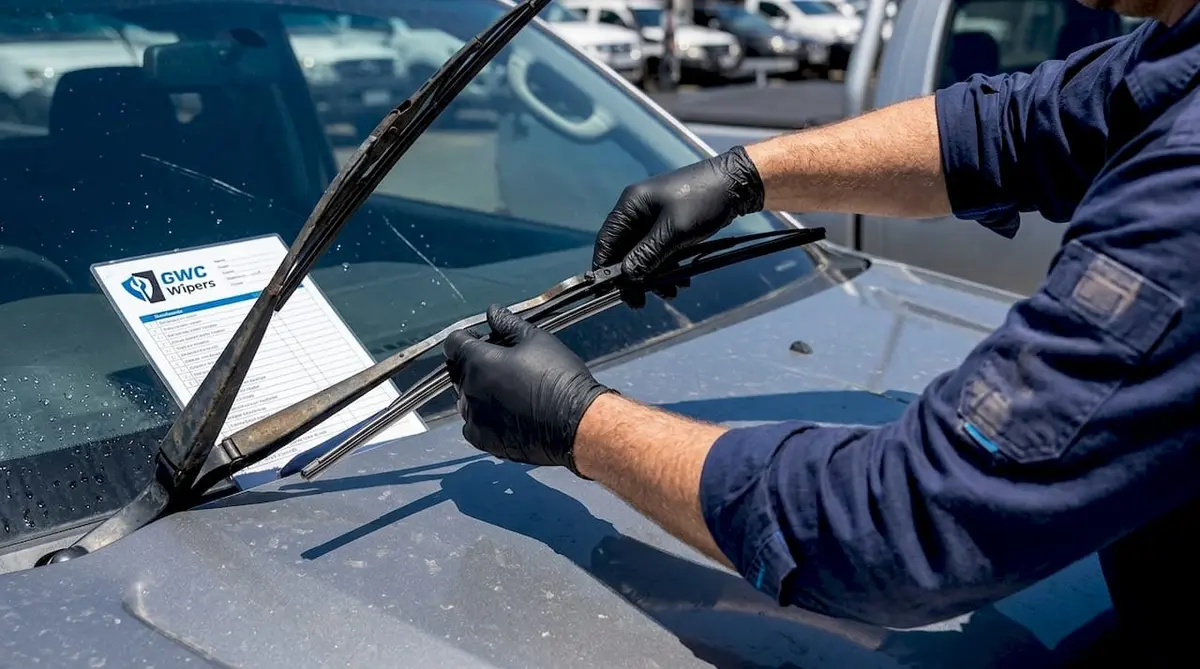
The standard installation process involves lifting the wiper arm, releasing the old blade via a tab or clip, attaching the new blade by aligning it with the hook or connector, and lowering the arm gently before testing. Knowing this sequence before you start means the job moves faster and with fewer errors across a large fleet.
Pro Tip: Always support the wiper arm when the blade is removed. If the arm snaps back against the glass without a blade fitted, it can crack or chip the windscreen. This is an expensive mistake that is entirely avoidable.
Once you are organised with the right materials, it is time to tackle each step of the installation.
Step-by-step fleet wiper installation process
Working through a fleet of vehicles is far more efficient when every technician follows the same process. Consistency reduces errors and ensures every vehicle leaves the workshop with correctly fitted blades. Follow these steps for each vehicle:
-
Lift the wiper arm away from the windscreen until it locks in the raised position. Note that some fleet vehicles, particularly larger vans and commercial utes, have stiffer arms that require more force. Take care not to let the arm drop.
-
Locate the release tab or clip where the blade connects to the arm. On hook-arm designs, there is usually a small plastic tab you press while rotating the blade downward. On pinch-tab designs, squeeze both sides simultaneously.
-
Remove the old blade by sliding it off the connector. Place it aside for disposal. Take a moment to inspect the arm for corrosion or damage before fitting the new blade.
-
Select the correct new blade from your stock. Confirm the size matches your reference sheet. Attach the appropriate adaptor if it is not already pre-fitted.
-
Align the new blade with the hook or connector on the arm. Push it firmly until you hear or feel a clear click. A blade that is not fully seated will detach at highway speed, which is a serious safety risk.
-
Lower the arm gently back onto the windscreen. Do not let it snap down. Repeat the entire process for the passenger side, then move to the next vehicle.
The installation steps are consistent across most passenger and light commercial vehicles, though arm stiffness and connector types vary. Building this process into your standard operating procedure ensures every technician in your team works to the same standard.
Safety reminder: Never leave the wiper arm unsupported while the blade is removed. Even a brief distraction can result in the arm falling against the glass. On large fleet vehicles, the arm’s weight is enough to cause significant windscreen damage. Always keep one hand on the arm or use a folded cloth as a buffer.
With installation complete, you need to know your process delivers consistent, safe results.
Testing, troubleshooting, and maintaining your fleet wipers
Fitting a new blade is only half the job. A quick functional test after every installation confirms the blade is seated correctly and performing as expected. This step takes less than two minutes and prevents a driver from discovering a problem on the road.
Run your post-installation check using these steps:
- Activate the wipers at low speed and observe the full sweep arc for streaking or skipping
- Check for noise such as squeaking or chattering, which indicates poor blade-to-glass contact
- Inspect the connector visually to confirm it is fully locked onto the arm
- Test at high speed briefly to confirm the blade does not lift away from the glass at higher wiper frequencies
Common installation mistakes and how to fix them:
- Wrong blade size: The blade either overhangs the windscreen edge or leaves a gap in coverage. Remove and replace with the correct size.
- Reversed blade: Some asymmetric blades have a specific orientation. If the rubber curves away from the glass, the blade is fitted backwards.
- Loose connector: If the blade wobbles or shifts during operation, the adaptor is not fully engaged. Press firmly until you hear the click.
- Skipping on dry glass: This is normal on a dry windscreen. Always test with washer fluid or during light rain for an accurate result.
For ongoing fleet maintenance, tracking replacement intervals per vehicle is the single most effective way to stay ahead of failures. Combining wiper checks with tyre rotations or oil changes keeps your maintenance schedule efficient without adding extra appointments.
For vehicles such as the Ford Laser fleet options, always confirm the correct blade pairing before ordering in bulk, as older models can have non-standard arm designs that require specific adaptors.
Pro Tip: Keep a simple logbook in your workshop, either digital or paper, that records the date, blade brand, and size fitted for each vehicle. When a driver reports a problem, you can immediately identify whether the blade is due for replacement or whether there is an installation issue to address.
All these practices reinforce safer, smoother operations for your team and clients.
What most fleet managers overlook about wiper maintenance
Here is something most fleet guides will not tell you: the biggest wiper-related risk is not a worn blade. It is the decision to wait until a blade visibly fails before acting. Reactive maintenance feels efficient because you are only replacing what is broken. In practice, it means your drivers are operating with degraded visibility for weeks before anyone notices.
Premium blades do not fail dramatically. They degrade gradually. Streaking gets a little worse each week. Contact pressure drops slowly. By the time a driver reports the problem, the blade has been underperforming for months. That is the window where incident risk is highest.
Scheduled, proactive replacement costs less per vehicle over a 12-month period than reactive replacement, when you factor in the labour of emergency swaps, potential windscreen damage from worn rubber, and the administrative burden of unplanned maintenance.
Avoiding sizing mistakes when ordering in bulk also protects your investment. Ordering the wrong size for even a few vehicles in your fleet creates waste and delays. A reliable reference system and a trusted supplier make the difference between a smooth maintenance cycle and a frustrating one.
Training your drivers to recognise early wear signs is the most cost-effective investment you can make in your fleet’s wiper programme. It costs nothing and delivers early warnings before blades reach critical failure.
Get premium fleet wiper blades delivered Australia-wide
If your fleet needs reliable, high-performance wiper blades that are built to handle Australian conditions, GWC Wipers has you covered. Our premium blade technology is designed for all-weather durability, from coastal humidity to outback heat, with a perfect fit guarantee across all major vehicle makes and models.
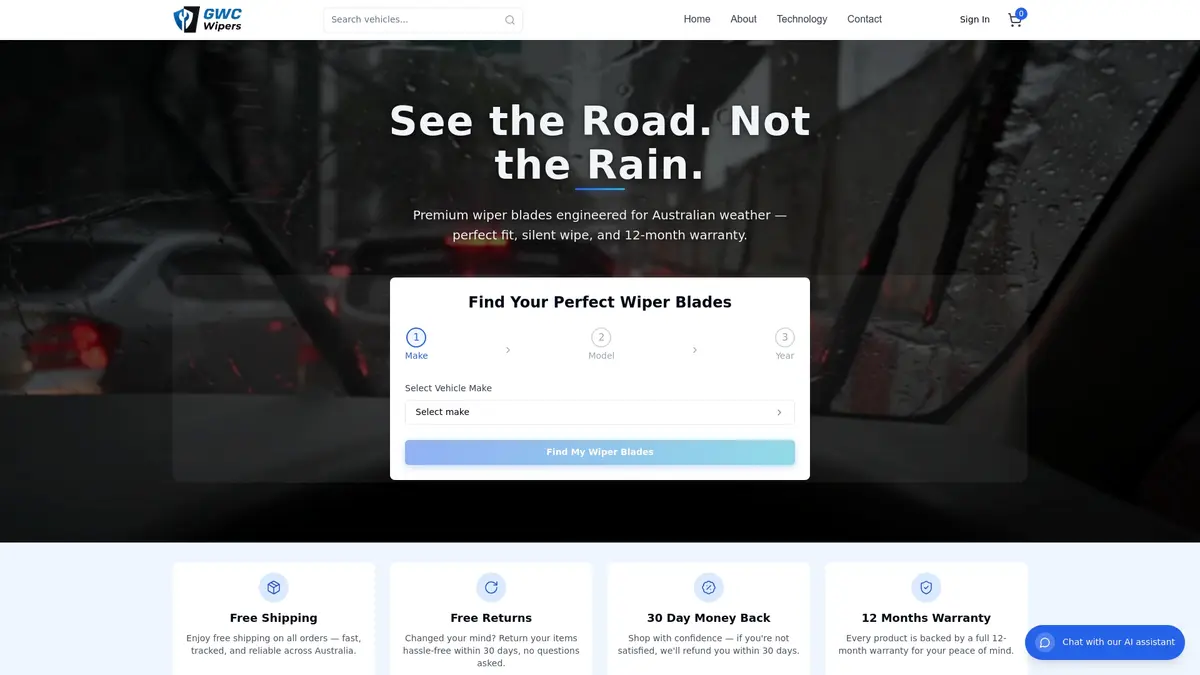
Whether you manage a small delivery fleet or a large commercial operation, you can find the right blades for every vehicle in your fleet. Browse our full range including Ford Laser wiper blades and hundreds of other models. Every order ships free across Australia, backed by a 12-month warranty and a 30-day money-back guarantee. Shop all fleet wiper blades and keep your team driving safely, no matter the conditions.
Frequently asked questions
How often should fleet wiper blades be replaced?
Replace blades every 6 to 12 months, or sooner if streaking, squeaking, or reduced visibility appears. Australian UV exposure and heat often mean the shorter end of this range is more appropriate.
What are the signs of worn wiper blades in fleet vehicles?
Streaking across the windscreen, squeaking during operation, or sections of the glass left uncleared are all clear indicators that blades need replacing immediately.
Can I use the same wiper blade size on all fleet vehicles?
No. Always check each vehicle’s specific driver and passenger blade sizes individually. Stock common sizes and verify connector compatibility for every model in your fleet.
Is there a universal connector for all fleet wiper blades?
Most premium blades include multiple adaptors, but you must still match the adaptor to your vehicle’s specific arm design. Never assume a universal fit without checking the arm type first.