Install high-performance wiper blades: step-by-step guide
TL;DR:
- Australian weather conditions require high-performance, weather-resistant wiper blades for safety.
- Proper removal and installation of the correct blade type ensure optimal performance and durability.
- Regular replacement and maintenance prevent streaks, squeaks, and performance issues while driving.
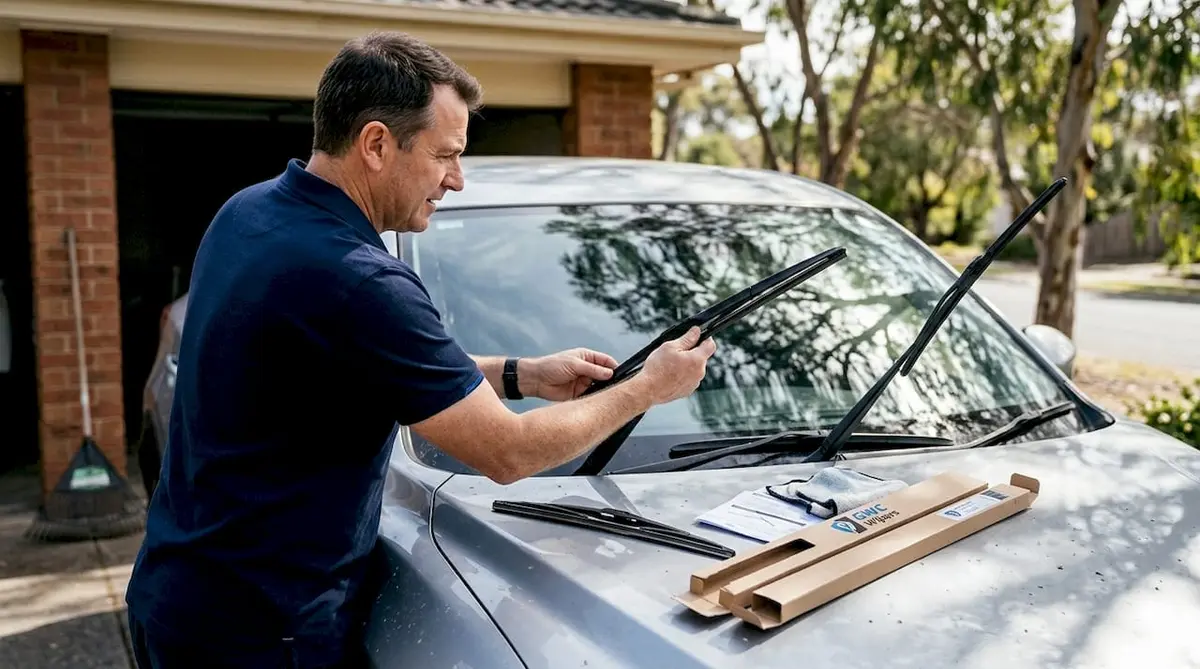
Driving through a heavy downpour on a Queensland highway or navigating Sydney streets in a winter storm puts your wiper blades to the test. When blades smear, skip, or squeak, your visibility drops fast and so does your safety margin. Australian conditions are genuinely demanding: intense UV exposure, sudden tropical downpours, and dusty outback roads all accelerate wiper wear far quicker than milder climates. This guide walks you through everything you need to select, remove, and install high-performance wiper blades correctly, so you can drive with confidence no matter what the weather throws at you.
Table of Contents
- What you’ll need to install wiper blades
- How to remove old wiper blades safely
- Installing new wiper blades: step-by-step
- Mistakes to avoid and troubleshooting tips
- Why performance depends on blade type and local weather
- Find the perfect blades for your car
- Frequently asked questions
Key Takeaways
| Point | Details |
|---|---|
| Preparation is crucial | Gather the right tools and choose blade types that suit your vehicle and local weather. |
| Safe removal prevents damage | Careful removal of old blades avoids scratching or cracking your windscreen. |
| Correct installation avoids issues | A proper fit stops streaks, squeaks, and premature wear. |
| Beam/blade types excel | Beam and hybrid wipers are best for curved Australian windscreens and all seasons. |
| Troubleshooting saves time | Quick fixes address common mistakes and ensure clear vision on the road. |
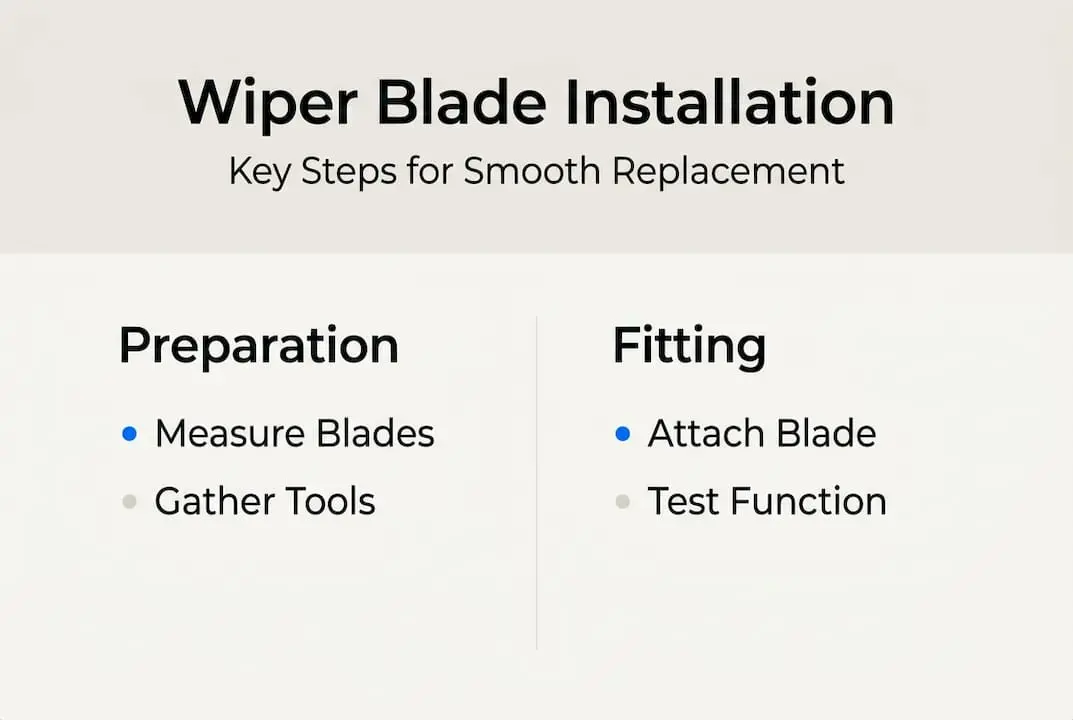
What you’ll need to install wiper blades
Before diving into the installation steps, it’s essential to have the right gear and blades suited for your vehicle and the local weather. Getting organised before you start saves time and prevents the frustration of stopping mid-job to hunt for a missing tool.
Tools and materials you’ll need:
- A small flathead screwdriver (for releasing blade clips)
- Clean microfibre cloth or gloves (to protect the windscreen and blade rubber)
- Your vehicle’s owner manual (to confirm arm type and blade size)
- Replacement wiper blades matched to your make, model, and year
- A soft towel or foam pad to rest the wiper arm against the windscreen during fitting
Choosing the right blade type matters as much as having the right tools. There are three main types available for Australian vehicles:
| Blade type | Design | Best for | Weather performance |
|---|---|---|---|
| Frame (conventional) | Metal frame with rubber insert | Older vehicles, flat windscreens | Moderate rain, limited UV resistance |
| Beam (bracketless) | Single curved piece, no frame | Curved windscreens, modern cars | Excellent in heavy rain and heat |
| Hybrid | Beam core inside a protective shell | All-weather versatility | Outstanding across all Australian conditions |
For most modern Australian vehicles, including popular models like the Toyota RAV4, Mazda CX-5, and Hyundai Tucson, beam and hybrid blades are recommended for curved windscreens and Australian weather. These designs use high-tension springs that maintain consistent pressure across the full blade length, which is critical for clearing water evenly on curved glass.
Frame blades are still a reliable option for older vehicles with flat windscreens, but if your car was built after 2010, a beam or hybrid blade will almost certainly outperform a conventional frame blade. Investing in premium wiper blades from the start means fewer replacements and better visibility over time.
Pro Tip: Always measure both the driver and passenger side blades separately. They are often different lengths, and fitting the wrong size causes uneven wiping and potential windscreen contact.
How to remove old wiper blades safely
With your supplies ready, start by removing the old blades without risking damage to your windscreen. This step is straightforward, but rushing it is where most people cause accidental scratches.
Step-by-step removal process:
- Park your vehicle on a flat surface and turn the engine off. Activate your wipers briefly and switch them off at the midpoint of the sweep, so the arms are easy to reach.
- Lift the wiper arm away from the windscreen slowly and carefully. Hold it steady once raised; if it snaps back without a blade attached, the bare metal arm can crack or chip your glass.
- Rest the arm gently against your soft towel or foam pad if you’re concerned about it falling back.
- Locate the release tab or clip where the blade connects to the arm. On most Australian vehicles this is a small plastic tab on the underside of the blade connector.
- Press the tab firmly and slide the blade downward along the arm hook until it releases. Some blades require a slight twist before they slide free.
- Lower the blade away from the arm and set it aside for disposal.
Important: Incorrect removal can scratch or crack windscreen glass, particularly if the bare metal arm makes contact. Never let go of the arm until the blade is safely removed and the arm is secured.
It’s also worth inspecting the wiper arm itself once the blade is off. Look for corrosion, bent metal, or a weak spring that no longer holds tension. A damaged arm will underperform even with a brand-new blade fitted. Understanding how wiper blade wear and weather interact helps you assess whether the arm needs attention too.

Take a moment to clean the wiper arm pivot and the windscreen surface before fitting the new blade. A clean surface ensures the new rubber seats properly from the first wipe.
Installing new wiper blades: step-by-step
Once the old blades are off, you can fit your new, high-performance blades following these detailed steps. The process varies slightly depending on your arm connector type, so identify yours before you begin.
The three most common arm types in Australian vehicles are:
- J-hook: The most common type, shaped like the letter J. The blade connector hooks directly onto it.
- Bayonet (side pin): A straight arm with a pin on the side. Requires an adaptor on most aftermarket blades.
- Pinch tab: Common on European vehicles. The blade is secured by squeezing two tabs simultaneously.
Step-by-step installation:
- Identify your arm type using your owner manual or the adaptor guide included with your new blades.
- If your blade includes multiple adaptors, select the correct one and click it firmly into the blade connector until you hear a click.
- Hold the wiper arm at a 90-degree angle to the windscreen.
- Align the blade connector over the arm and slide it upward until the locking tab clicks into place.
- Gently tug the blade downward to confirm it is locked securely.
- Lower the arm slowly back onto the windscreen. Do not let it snap down.
- Repeat the process for the passenger side blade, remembering it may be a different length.
- Turn on your wipers and run them through several full sweeps to check for even contact and smooth movement.
| Blade type | Key fitting step | Common arm type | Noise risk if incorrect |
|---|---|---|---|
| Beam | Ensure full-length contact on curved glass | J-hook | High if misaligned |
| Hybrid | Click adaptor firmly before fitting | J-hook, bayonet | Moderate |
| Frame | Align frame evenly across arm | J-hook | Low |
Bosch and Trico models offer superior fit and ease for Australian cars, with clear adaptor systems that reduce guesswork. If you want to eliminate noise from day one, check our guide on quietest wiper blades for model-specific recommendations. For vehicles where factory fitment matters, OEM-fit wiper blades are worth considering.
Pro Tip: After fitting, dampen the windscreen and run the wipers at low speed. Watch for any sections of the blade that lift away from the glass. Even a small gap causes streaking at highway speeds.
Mistakes to avoid and troubleshooting tips
Even with careful installation, issues can arise. Here’s how to troubleshoot and get flawless performance from your new blades.
Common installation mistakes:
- Fitting the wrong blade length for either side
- Failing to click the adaptor fully before attaching to the arm
- Allowing the bare arm to rest on the windscreen during blade changeover
- Installing a frame blade on a heavily curved windscreen
- Skipping the post-installation wet test
Troubleshooting guide:
- Streaking: Usually caused by a dirty windscreen, worn rubber, or a blade that isn’t making full contact. Clean the windscreen thoroughly with glass cleaner and re-check blade alignment.
- Skipping or chattering: Often the result of a blade fitted at the wrong angle or an arm with insufficient spring tension. Reposition the blade and check the arm spring.
- Squeaking: Commonly caused by a dry windscreen or an incompatible blade type. Always use washer fluid rather than running blades on a dry screen.
- Lifting at speed: A sign that your blade lacks the aerodynamic profile needed for highway driving. Beam blades with a low-profile design perform significantly better at high speeds.
Proper installation prevents noise, streaks, and premature wear, which is why taking a few extra minutes to verify your work pays off every time you drive in the rain. Regular checks also reduce the risk of unexpected failure. Our wiper blade replacement benefits guide explains why staying on top of replacements matters for long-term safety.
Pro Tip: Keep a note of your blade sizes in your glove box or phone. When it’s time to replace again, you won’t need to check the manual or measure the old blades.
For vehicles that operate in particularly demanding environments, such as construction sites or rural properties, heavy-duty wipers are engineered to handle mud, dust, and debris far better than standard blades. And if you’re unsure how long your current blades have left, our replacement frequency guide gives clear, practical timelines.
Why performance depends on blade type and local weather
Most installation guides focus entirely on the mechanical steps and stop there. What they miss is the relationship between blade design and the specific conditions you’re driving in. Australia isn’t a single climate. You might be dealing with tropical monsoon rains in Darwin, hail in Melbourne, or prolonged heat and UV exposure in Perth. Each of these conditions stresses your wiper blades differently.
Frame blades, for example, trap debris and corrode faster in humid coastal environments. Beam blades, by contrast, have no exposed metal framework, which means they resist corrosion and maintain even pressure regardless of temperature changes. Beam and hybrid designs should be prioritised for both curved windscreens and high-speed conditions, and this isn’t just a brand preference. It’s a performance reality shaped by Australian roads.
Fitting a blade correctly on a curved windscreen is not optional. A blade that bridges the curve rather than conforming to it will leave dry patches in your central field of vision, precisely where you need clarity most. Understanding how Australian weather affects blade performance helps you make smarter choices that go beyond just picking the cheapest option on the shelf.
Find the perfect blades for your car
Having mastered the installation, it’s now easy to upgrade to performance blades tailored for your car.
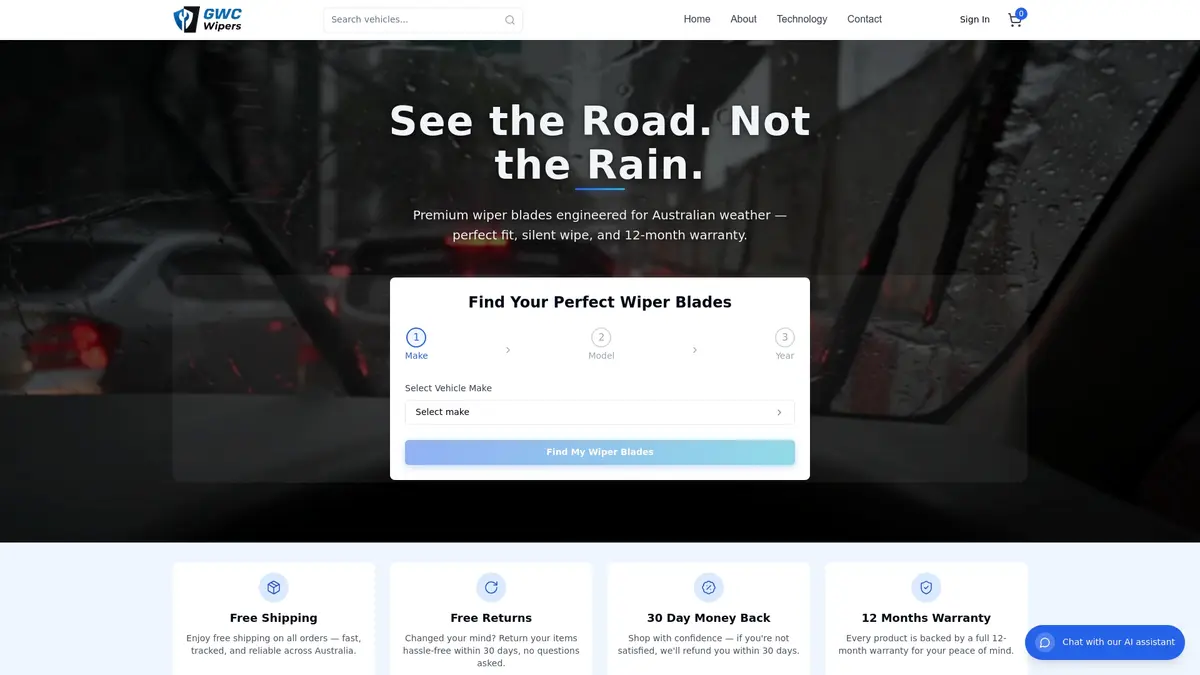
At GWC Wipers, we stock weather-tested, premium wiper blades for hundreds of Australian makes and models. Whether you drive an Alfa Romeo and need Giulietta wiper blades, a Mercedes-Benz and want GLA-Class wiper blades, or a Toyota and are searching for Toyota wiper blades, our vehicle selector tool finds the exact fit in seconds. Every order includes a perfect fit guarantee, free shipping across Australia, and a 12-month warranty. You’ve done the hard work learning how to install correctly. Now pair that knowledge with blades built for Australian conditions.
Frequently asked questions
What are the best wiper blade types for Australian weather?
Beam and hybrid blades outperform frame blades in all-weather benchmarks, making them the top choice for Australian drivers who face heavy rain, intense heat, and curved modern windscreens.
How often should I replace my wiper blades?
Replace your blades every 6 to 12 months for reliable performance, with six-month replacement strongly recommended in tough Australian climates where UV exposure and heavy rain accelerate rubber degradation.
Can I fit new wiper blades myself without damaging my windscreen?
Yes, most car owners can install blades safely at home, provided they support the wiper arm carefully and follow the correct removal technique, since incorrect removal can scratch windscreen glass.
Why do wiper blades squeak or leave streaks after installation?
Proper installation is essential for noise-free, streak-free blades. Squeaking and streaking are typically caused by misaligned blades, a dirty windscreen surface, or an incompatible blade type for your specific wiper arm.