
Windshield rubber replacement: the Australian guide

TL;DR:
- Worn windshield rubber signs include water leaks, wind noise, and visible cracks, especially under Australian UV and temperature extremes. Proper surface preparation and using UV-resistant EPDM seals with urethane sealant ensure a durable, leak-free installation that lasts up to 12 years. Precise corner sealing and a 24-hour cure time are essential for an effective, long-lasting repair that maintains water tightness and cabin comfort.
A damp smell inside your car after rain, a faint whistle at highway speed, or a streak of moisture creeping along your windshield frame. These are the quiet warnings that your windshield rubber replacement is overdue. The technical term for this component is a windshield weatherstrip or windshield gasket, and once it fails, no amount of wiping the glass will solve the problem. This guide walks you through every stage of the process, from spotting worn seals and choosing the right materials for Australian conditions, to removing the old rubber, installing a new seal correctly, and verifying the job is actually done.
Table of Contents
- Key takeaways
- When windshield rubber needs replacement
- Removing the old seal and preparing the surface
- Installing the new windshield seal
- Curing, testing, and long-term maintenance
- What I have learned about windshield seal jobs
- Complete your windshield care with GWC Wipers
- FAQ
Key takeaways
| Point | Details |
|---|---|
| Spot the signs early | Water leaks, wind noise, and visible cracks in the rubber are clear signals that replacement is needed. |
| Material choice matters | EPDM rubber resists UV exposure and harsh Australian weather far better than generic alternatives. |
| Surface prep determines success | Cleaning the frame and glass thoroughly before installation prevents leaks better than any sealant alone. |
| Corners need extra attention | Adhesive continuity at corners and joints is where most DIY seal jobs fail and leaks reappear. |
| Curing time is non-negotiable | Urethane-based sealants require at least 24 hours before the vehicle is exposed to rain or washing. |
When windshield rubber needs replacement
Before you buy anything or reach for a tool, you need to know what you are actually looking at. The windshield gasket, also called the weatherstrip or drip moulding seal, sits between the glass and the vehicle’s body frame. It serves two purposes: keeping water out and reducing road noise inside the cabin. When it ages or cracks, both functions deteriorate fast.
The most telling signs are:
- Water pooling on the dashboard or inside the front footwells after heavy rain
- A whistling or rushing sound at speeds above 80 km/h that was not there before
- Visible cracking, hardening, or shrinking along the rubber strip itself
- Condensation or moisture forming between the glass and the seal rather than on the glass surface
- The rubber pulling away from the frame when you press it gently
Australian conditions accelerate this wear cycle considerably. The UV intensity in cities like Brisbane and Perth degrades rubber faster than in milder climates, and the temperature swings between seasons cause repeated expansion and contraction that cracks seals from the inside out.
Choosing the right replacement seal
EPDM rubber resists cracking and hardening under extreme weather and UV exposure, making it the clear material choice for Australian vehicles. Generic PVC or low-grade rubber seals may be cheaper upfront, but they tend to harden within 18 to 24 months under direct sun. EPDM seals maintain flexibility in both summer heat and cold winter mornings, which is exactly what you need across most Australian states.
| Seal material | UV resistance | Flexibility in heat | Typical lifespan |
|---|---|---|---|
| EPDM rubber | Excellent | High | 8 to 12 years |
| PVC | Moderate | Low | 2 to 4 years |
| Generic rubber | Poor | Low | 1 to 3 years |
| OEM factory rubber | Excellent | High | 8 to 15 years |
Pro Tip: Park your car in the shade for at least an hour before starting this job. Warm rubber is more pliable during removal but hot metal frames make adhesive behave unpredictably. A cool, shaded surface gives you better control over both.
Tools you will need
Gather these before you begin: a trim removal tool or plastic pry tool, a razor blade or utility knife, automotive glass cleaner or isopropyl alcohol, lint-free cloths, a new weatherstrip seal (EPDM recommended), urethane windshield sealant, masking tape, and disposable gloves. If your replacement seal does not include built-in adhesive, a quality urethane sealant is non-negotiable.
Removing the old seal and preparing the surface
Removal is where most DIY jobs go wrong. Rushing it or using the wrong tool causes paint chips, scratched glass, or a bent frame channel that no new seal will sit in correctly. Take your time here and the rest of the job is straightforward.
- Start at one of the top corners of the windshield frame. Insert your plastic trim removal tool under the edge of the rubber strip and work slowly along the length, lifting rather than prying.
- Where the seal is bonded or sealant has been applied, use a razor blade held at a low angle to cut between the rubber and the frame. Keep the blade flat against the glass or frame surface to avoid scoring either one.
- Once the old weatherstrip is fully removed, inspect the frame channel. Look for rust, old adhesive residue, cracked paint, or any irregularities that could cause the new seal to sit unevenly.
- Apply automotive glass cleaner or isopropyl alcohol to a lint-free cloth and wipe down the entire perimeter of the glass and the frame channel. Work in small sections and use a fresh cloth area each time. You are removing old adhesive, dust, and any oils that would prevent the new seal from bonding.
- Allow the frame to dry completely. If you see any rust spots in the metal channel, treat them with a rust converter before proceeding. Installing a seal over corrosion only delays the inevitable.
Pro Tip: Wrap a strip of masking tape along the painted bodywork just outside the frame channel before you begin. It protects the paint from accidental adhesive smears during installation and peels off cleanly afterwards.
Good surface preparation for seals is the single biggest factor in how long your installation lasts. A rough or oily frame surface will lift the new seal within months regardless of how carefully you press it down.

Installing the new windshield seal
With a clean, dry, rust-free channel, you are ready for installation. This stage has a few variables depending on the type of seal you have purchased.
Some windshield rubber strips come with a pre-applied adhesive backing protected by a peel-off liner. Others require you to apply urethane sealant to the frame channel before pressing the seal into position. Check your product specifications before you begin, because applying urethane under a pre-adhesive seal can cause it to lift or bubble.
- If using urethane sealant, apply a continuous bead around the entire frame channel. Keep the bead consistent in thickness. A thicker bead at corners is acceptable because corners are where gaps typically form. Gaps at corners are the most common source of post-installation leaks, and adhesive continuity at corners is what separates a sound repair from a repeat job.
- Starting at the centre of the top of the windshield, press the new seal firmly into the channel. Work outward toward each top corner. This starting point distributes any slight length discrepancy evenly rather than creating a bunched section on one side.
- When you reach a corner, ease the rubber gently around the curve. Do not stretch or pull it. If the seal resists, warm it briefly with a heat gun on a low setting to increase its pliability, then press it around the curve firmly.
- Continue working down both sides simultaneously rather than completing one side fully before starting the other. This keeps tension even across the whole seal.
- At the bottom, trim any excess seal with a sharp utility knife and press the two ends together firmly. Apply a small dab of urethane to the join point and smooth it with a gloved finger.
| Seal type | Requires urethane sealant | Adhesive backing included | Suitable for DIY retrofit |
|---|---|---|---|
| Universal EPDM strip | Yes | No | Yes |
| OEM seal kit with locking strip | No | Yes | Requires glass removal |
| Pre-adhesive aftermarket seal | No | Yes | Yes |
| Classic/vintage weatherstrip | Yes | No | Yes |
Note that OEM seal kits with locking strips are designed for installation during glass replacement, not as a retrofit over existing glass. If your windshield is intact, choose a universal or pre-adhesive type instead.
Using a rubber mallet with a wood block between the mallet and the seal, you can tap the seal firmly into the channel without risking cuts or deformation in the rubber. Work around the perimeter one more time after initial placement to confirm there are no lifted sections, folds, or air gaps visible anywhere. Run a finger along the inner edge of the seal to feel for any section that has not seated flush against the glass.
Curing, testing, and long-term maintenance
The job is not finished when the last section of rubber is pressed into place. Adhesive cure time is a common DIY failure point that costs people a second repair within weeks.
Urethane adhesive needs at least 24 hours before the vehicle should be driven through rain or washed. During this period, keep the car in a dry, shaded location. Do not wind down the windows or apply any pressure to the windshield. The adhesive needs undisturbed contact time to form a proper bond.
After 24 hours, perform a water test before you declare the job done. Use a garden hose at low pressure and direct the stream along the perimeter of the windshield from outside while a second person checks inside for any water ingress. Pay particular attention to the lower corners and the join point at the base of the windshield where the two seal ends meet. Sealing compound and water testing together confirm the integrity of the repair in a way that visual inspection alone cannot.
For ongoing maintenance, follow these guidelines:
- Clean the rubber seal edges monthly with a damp cloth to remove road grime and built-up debris, which can cause premature cracking
- Apply a silicone-based rubber protectant every six months to prevent UV hardening, particularly if you park in direct sun regularly
- Inspect the seal visually every time you clean your car, looking for any lifted sections or early cracking
- If you park outdoors in Queensland or Western Australia, consider a car cover or shade structure to slow UV degradation significantly
The weatherstrip rubber alone does not prevent leaks. The sealant compound and the quality of your surface preparation are what actually keep water out. The rubber is the final layer, not the primary one.
EPDM seals paired with quality urethane sealant and proper maintenance genuinely do last 8 to 12 years under Australian conditions. That is a major return on a modest investment of time and materials.
What I have learned about windshield seal jobs

In my experience, most DIYers who end up with a leaky windshield a month after replacing the rubber made the same mistake. They did not underestimate the rubber itself. They underestimated the surface.
I have seen beautifully installed seals fail within two seasons because someone cleaned the frame channel with a damp rag instead of properly degreasing it with isopropyl alcohol. The adhesive never bonded. The rubber looked perfect from the outside and still let water in along the lower corners.
The other thing I have learned is that the rubber seal installation process rewards patience at every step. Corners are the real test. If you take your time there, warm the rubber if needed, and apply a slightly heavier urethane bead at each curve, you will not get a callback on your own work.
My honest advice: do not skip the water test. It takes five minutes and will tell you immediately whether a corner has a gap before the next big rain does it for you instead. The test saves time, money, and a waterlogged passenger footwell.
— Faisal
Complete your windshield care with GWC Wipers
If you have gone to the effort of replacing your windshield seal, the last thing you want is worn wiper blades dragging across that freshly maintained glass. At GWC Wipers, we build wiper blades specifically for Australian conditions, from tropical downpours in the north to dusty outback roads in the west.
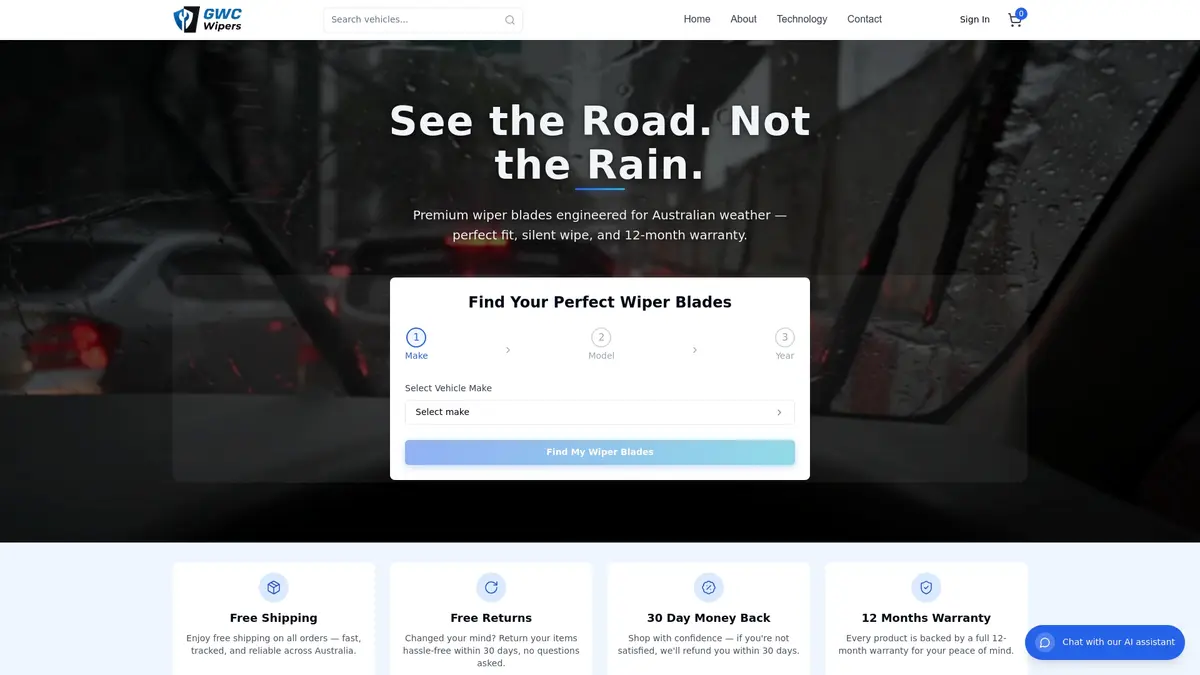
Our premium wiper blades are engineered for all-weather performance, with materials that hold up against UV, heat, and heavy rainfall. We offer a perfect fit guarantee across hundreds of makes and models, free shipping Australia-wide, and a 12-month warranty. Use our vehicle selector tool to find the exact blade for your car in under a minute. Whether you drive an Alfa Romeo Giulietta or a Mercedes-Benz GLE-Class, we have the right blade ready to ship. Clear glass and a sound seal work together. Make sure both are performing at their best.
FAQ
What are the signs that windshield rubber needs replacing?
The most common signs are water leaks inside the cabin after rain, wind noise at speed, and visible cracking or shrinking of the rubber strip around the glass perimeter. Moisture appearing between the glass and the frame is a reliable indicator of seal failure.
What type of rubber is best for Australian conditions?
EPDM rubber is the preferred material for windshield weatherstrips in Australia because it resists UV degradation, handles extreme heat, and maintains flexibility through temperature changes. It typically lasts 8 to 12 years compared to 2 to 4 years for PVC alternatives.
Can I replace windshield rubber without removing the glass?
Yes, in most cases. Universal EPDM strips and pre-adhesive aftermarket seals are designed for retrofit installation over existing glass. OEM seal kits with locking strips require glass removal and are not suitable for a standard DIY repair on an intact windshield.
How long does the sealant need to cure before driving in rain?
Urethane-based windshield sealant requires at least 24 hours of undisturbed curing time before the vehicle should be exposed to rain or washing. Rushing this step is one of the most common reasons seal jobs fail prematurely.
Do I need to use sealant if my replacement seal has adhesive backing?
If your replacement seal comes with a pre-applied adhesive backing, additional urethane sealant is generally not required. However, for seals without built-in adhesive, applying a continuous urethane bead around the entire frame channel, with extra material at corners, is necessary to prevent leaks.