
Click and Tug Flat Blade Conversion for Australian Cars
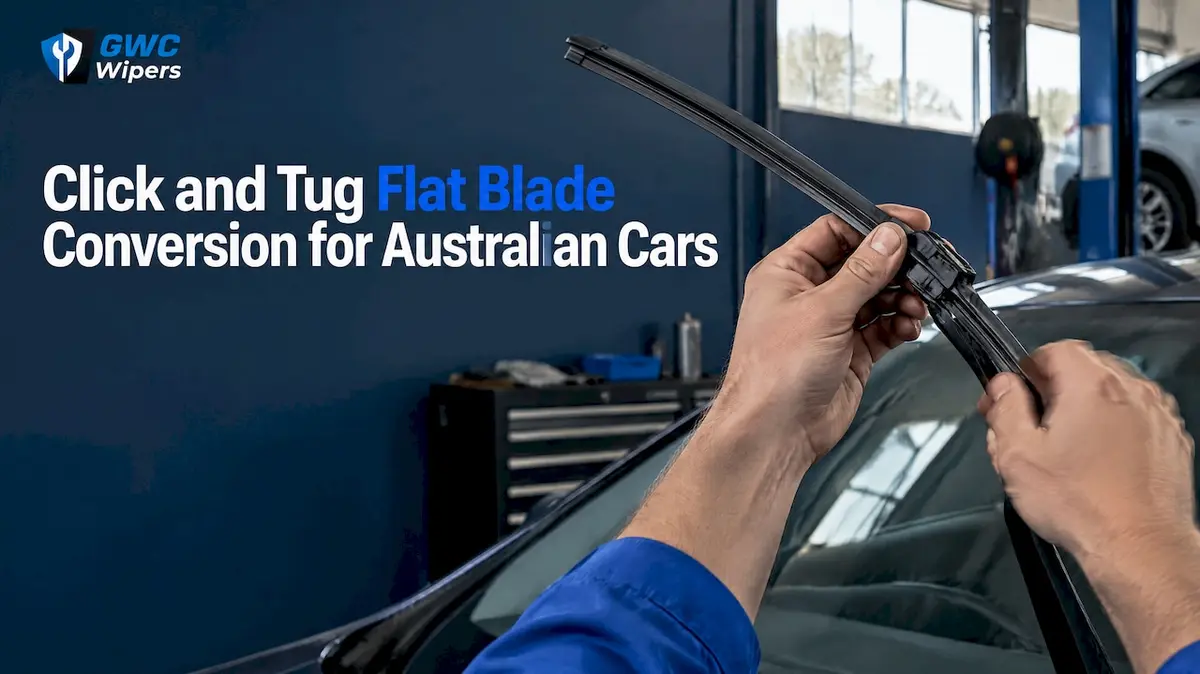
Yes, in most cases you can convert to a flat (beam) blade by fitting a beam-style blade supplied with the correct adapter. Do not force adapters onto an incompatible or damaged arm. If your arm is sound and you are unsure of its type, check your owner’s manual or a fitment selector first, and once the adapter clicks and passes a gentle tug test, you can move on to full installation and testing.
TL;DR:
- Ensure your wiper arm is straight, undamaged, and properly secured before fitting a new flat beam blade to prevent improper contact and windscreen damage.
- Confirm your vehicle’s arm type matches the adapter, with proper click fitment and a firm tug test to avoid loose connections that can cause streaking or arm strikes.
- Clean the windscreen thoroughly before testing, and check blade length, adapter engagement, and arm condition if streaks or chatter persist after installation.
- Replace worn blades regularly, ideally every six to twelve months, and inspect the swept area for chips or cracks that could impair visibility.
- Do not attempt a conversion on damaged, corroded, or loose arms, as standards require the swept zone to remain free of defects for safety.
Table of Contents
- Checks to make before you buy or start work
- Identify your arm type and the adapter you need
- Step-by-step installation sequence for a flat/beam blade conversion
- How to test the new blades and fix common problems
- When conversion is not appropriate and key vehicle standards to know
- How GWC Wipers helps with flat blade conversions
- Author perspective: common DIY pitfalls and a practical takeaway
- Call to action: find your perfect-fit beam blades on GWC Wipers
- FAQ
- Sources
Checks to make before you buy or start work
Before you buy a beam blade, a few quick checks save you a return trip and a damaged windscreen. Your driver and passenger blades are often different lengths with different swept arcs, so never assume one size fits both sides. Look closely at the wiper arm and its connector for bends, corrosion or play: a damaged arm needs repair before any new blade goes anywhere near it.
While you’re there, scan the primary vision area of the windscreen, the zone the wipers actually sweep, for chips or cracks that could interfere with blade travel or crack further under arm pressure — for how to do this properly, see our guide on how to check tyre tread depth in Australia. Some vehicles also need to be set to a service position before the arms will lift away from the glass, so it’s worth checking the manual or your vehicle selector for that step.
- Measure both blades separately and note the swept arc on each side.
- Check the arm and connector for bends, rust or looseness.
- Inspect the windscreen’s swept area for chips or cracks.
- Confirm whether your vehicle needs a service position for wiper changes.
Pro Tip: Keep a soft cloth or towel over the windscreen edge while you work, in case the arm slips.
Identify your arm type and the adapter you need
Most Australian vehicles use one of four common wiper arm styles, and recognising yours is the single most important step in a flat blade conversion. A J-hook arm ends in a curved hook that the old blade clips onto. A top pin or push-pin arm has a small pin protruding upward through the blade’s centre. A bayonet or side-pin arm has a flat connector with a pin through the side, and a flat or parallel arm has a straight connector with no visible hook or pin at all.
Beam blades generally ship with either a universal multi-adapter set covering several arm types, or a single preassembled adapter matched to your specific make, model and year. A preassembled adapter removes the guesswork, since it is built to fit one connector shape only. Whichever type you use, a correctly matched adapter should click firmly into place and hold through a gentle tug test: any movement after that click is a fail, not a quirk to live with.
- J-hook: curved hook connector, among the most common on older Australian vehicles.
- Top pin: small vertical pin through the blade’s centre mount.
- Bayonet or side-pin: flat connector with a pin entering from the side.
- Flat or parallel arm: straight connector with no hook or pin.
If a universal adapter won’t seat securely, stop rather than forcing it. Check your manual or run your rego through a vehicle selector instead of guessing at the connector shape.
Step-by-step installation sequence for a flat/beam blade conversion
Once you’ve confirmed your arm type and adapter, the fitting itself is quick if you follow the sequence in order and never rush the final step.
- Set the wipers to service position if your vehicle requires it, and lay a cloth over the windscreen edge where the arm will rest.
- Lift the arm away from the glass and support it; don’t let it swing freely or drop back onto the windscreen.
- Release the old blade using your vehicle’s connector mechanism (usually a small tab or clip) and slide it off the arm.
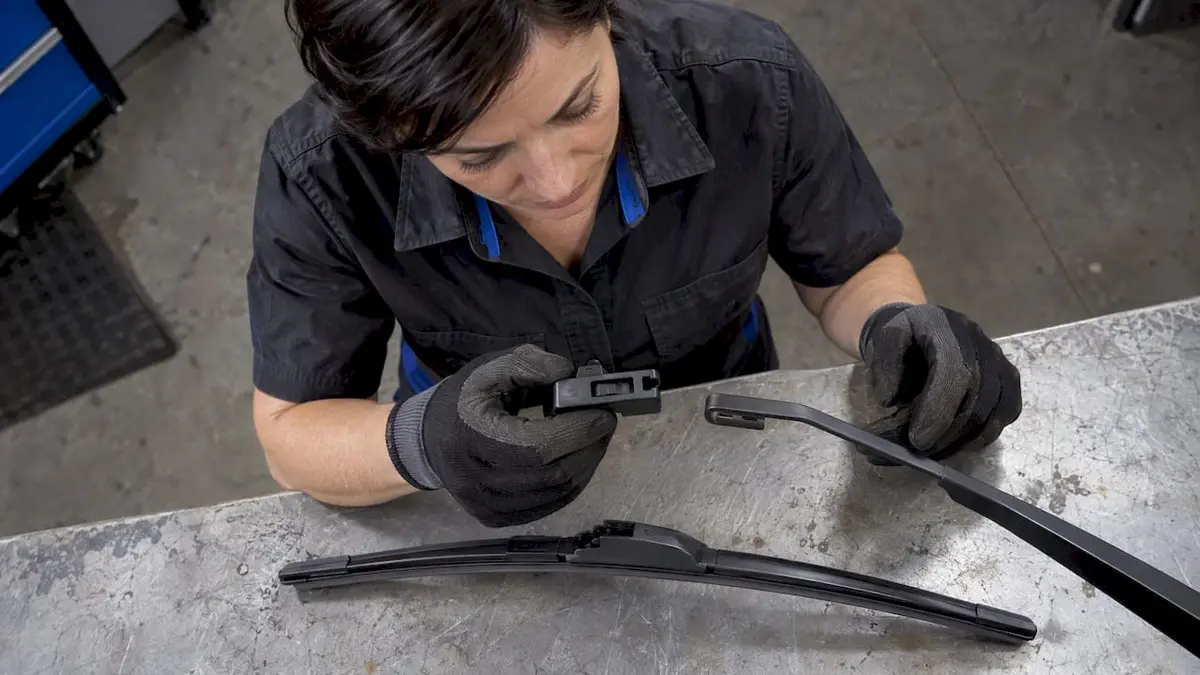
- Fit the beam blade’s matching or preassembled adapter onto the arm, push until it clicks, then perform a firm but gentle tug test.
- Lower the arm back onto the glass slowly, never letting it snap down under its own spring tension.
- Run the wipers on wet glass at low speed first, then at high speed, and check the parked position afterward.
This click-and-tug sequence, along with protecting the glass while the arm is lifted, mirrors the installation guidance from RACQ, which also warns that an incompletely engaged adapter can let the arm strike the windscreen when it drops. RACV’s maintenance guidance adds that insert-style and Euro-style blades are replaced differently, so matching the right adapter type to your vehicle matters more than the brand of blade you choose.
Pro Tip: If you need extra hands or a trim tool for stubborn clips, a basic kit makes the whole job faster. For a rundown of what’s worth having on hand, see our guide to wiper-change tools.
If the adapter won’t engage at any point, stop and re-check the adapter type rather than forcing a fit that risks the windscreen.
How to test the new blades and fix common problems
Once fitted, run the wipers through a full sweep test at both low and high speed on wet glass, watching that the blade covers the full swept area you’d expect, right into the corners, with no skipped patches.
Streaking or chatter after a conversion is rarely the blade’s fault alone. Clean the glass thoroughly first, since residue causes as many streaks as a worn edge does. Then re-check the blade length against your original measurements, confirm the adapter is fully seated, and inspect the arm for any bend that might be holding the blade off the glass at an angle. Our streak troubleshooting guide walks through each of these causes in more depth.
- If streaks persist after cleaning, re-check blade length and adapter engagement.
- If chatter continues, inspect the arm for bends or spring tension loss.
- If the adapter repeatedly won’t hold, the arm itself may need replacing, not the blade.
- If the windscreen has structural damage in the swept area, that needs attention before any blade will perform properly.
Beyond the conversion itself, RACV recommends checking your blades every six to 12 months and replacing worn rubbers or whole blades as needed, well before winter rain exposes any weakness.
When conversion is not appropriate and key vehicle standards to know
Don’t attempt a conversion if the arm or connector is bent, corroded or loose. Forcing an adapter onto a compromised arm risks windscreen contact damage and a sweep that doesn’t properly clear your line of sight.
Vehicle standards set out in the NHVR’s windscreen and window guidance require the primary vision area, the zone your wipers sweep, to stay free of defects that impair the driver’s view, with replacement glass meeting approved safety standards. If your windscreen has damage in that zone, it needs repair or replacement before new blades will do much good.
Tinting matters here too. NSW Transport guidance states that windscreen tint must not extend below the blades’ swept arc or beyond the allowed percentage of windscreen depth. If you’re unsure whether your setup complies, your owner’s manual or an authorised service provider is the right place to check.
- Damaged or loose arms must be repaired before conversion, never forced.
- The swept area must stay free of chips or cracks that impair vision.
- Tint must sit above the swept arc and within allowed depth limits.
How GWC Wipers helps with flat blade conversions
Beam blades with vehicle-specific fitment and preassembled adapters help match your arm the first time rather than guessing between universal fittings. Our vehicle selector confirms the correct length and adapter for your make, model and year before you buy. Orders may come with a fitment guarantee, a money-back guarantee, a warranty and shipping options in Australia. If you drive a Hilux, our Toyota Hilux wiper blades hub shows exactly how the fitment maps to your ute.
Author perspective: common DIY pitfalls and a practical takeaway
The mistake I see most often isn’t a bad blade, it’s skipping the selector and trusting a universal adapter that almost fits. That near-fit is where windscreen damage happens. Always tug-test the adapter and check the full swept area before you drive into heavy rain.
— Faisal
Call to action: find your perfect-fit beam blades on GWC Wipers
It’s possible to get a perfect fit by make, model and year using a selector to identify the right beam blade and adapter before purchasing.
Fitment guarantees, return policies, and warranty coverage are often provided to reduce risk when trying beam blades.
- Hilux owners can go straight to our Toyota Hilux hub.
- Purchases may include shipping options in Australia and warranty coverage.
FAQ
Can I convert any hook arm to a flat blade?
Most J-hook, top pin and bayonet arms can take a beam blade once you fit the matching adapter, as long as the arm itself is straight and free of corrosion. If the arm is bent, loose or rusted, repair it first rather than forcing a conversion.
What adapter do I need for a flat blade conversion?
The adapter depends on your arm type: J-hook, top pin, bayonet or flat/parallel connectors each need a different fitting. A preassembled adapter matched to your make, model and year removes the guesswork that a universal multi-adapter kit can leave behind.
How do I know the adapter is fitted correctly?
A properly seated adapter clicks into place and holds firm through a gentle tug test. Any movement after that click means it isn’t fully engaged, and driving with it that way risks the arm striking the windscreen.
Why are my new beam blades still streaking?
Streaking after a conversion is usually glass residue, an incompletely seated adapter or a bent arm rather than a faulty blade. Clean the windscreen, recheck the adapter engagement, and inspect the arm before assuming the blade itself is at fault.
How often should I replace wiper blades after converting?
Check your blades every six to 12 months and replace them sooner if you notice streaking or chatter, particularly before winter. Worn rubber degrades conversion performance just as quickly as it does on a factory-fitted blade.
Sources
These Australian sources back the safety, swept-area and installation guidance above.
- How to change wiper blades | RACQ
- Easy DIY car maintenance tips and safety checks | RACV
- NHVIM V3.2 Section 10 - Windscreens and Windows
- How do I know my windows and window tint are legal in NSW (2025) | NSW Transport