Must-have tools for wiper changes: Australian guide
TL;DR:
- Replacing wiper blades requires correctly sized blades, proper connector adapters, and protective tools to prevent damage. Identifying the connector type, using a folded towel for windscreen protection, and confirming proper fit with an audible click are essential steps. For seized arms, penetrating oil and a mechanical puller ensure safe removal without damage.
The must-have tools for wiper changes are correctly sized replacement wiper blades, a folded protective towel, and the right connector adapters for your vehicle’s wiper arm type. Most Australian car owners already have several of these items at home, yet skipping even one leads to cracked glass, loose blades, or a frustrating half-finished job in the driveway. Knowing your connector type before you buy anything is the single biggest factor separating a smooth ten-minute swap from a costly mistake. This guide covers every tool you need, why each one matters, and how to use them correctly.
1. Must-have tools for wiper changes: the full list
The core toolset for wiper replacement is smaller than most people expect. You need the correct replacement blades, a folded towel or thick cloth, the matching connector adapter, and basic hand tools like needle-nose pliers and a flathead screwdriver. For vehicles with corroded or stuck wiper arms, penetrating oil and a mechanical puller tool round out the kit. Each replacement typically takes 5 to 10 minutes per blade once you have the right connector type and toolset confirmed. That timing assumes no rust or seized components, which is why the specialised tools covered later in this guide matter for older Australian vehicles exposed to coastal salt air or prolonged UV heat.
2. Wiper blade connector types and why they matter
Connector type is the most underestimated variable in a wiper blade change. Four main connector types exist across the Australian vehicle fleet: J-hook, pinch-tab, side-pin, and top-lock. Getting this wrong means your new blade either won’t lock on or will sit loose and streak from the first rain.
Here is a breakdown of each type and its prevalence:
- J-hook accounts for roughly 70% of vehicles on Australian roads. It is the standard hook shape found on most Toyota, Holden, Ford, and Mazda models. The blade clips directly onto the curved hook with a simple press-and-click action.
- Pinch-tab covers approximately 15% of vehicles. It uses a small tab on the side of the connector that you pinch to release. Common on many European models including Volkswagen and BMW.
- Side-pin appears on around 8% of vehicles, typically older Mitsubishi and some Nissan models. A small pin runs through the side of the arm and requires a specific adapter to engage correctly.
- Top-lock is found on approximately 7% of vehicles, often on newer Hyundai and Kia models. The blade locks from the top rather than the side, requiring a dedicated adapter.
Using the wrong adapter causes loose or non-locking blades, which creates streaking and potential safety issues in heavy rain. Check your vehicle owner’s manual or use an online fitment tool to confirm your connector type before purchasing blades or adapters. Multi-fit connector adapters cover multiple connector types with one tool, which reduces confusion and is a practical choice for households with more than one vehicle.
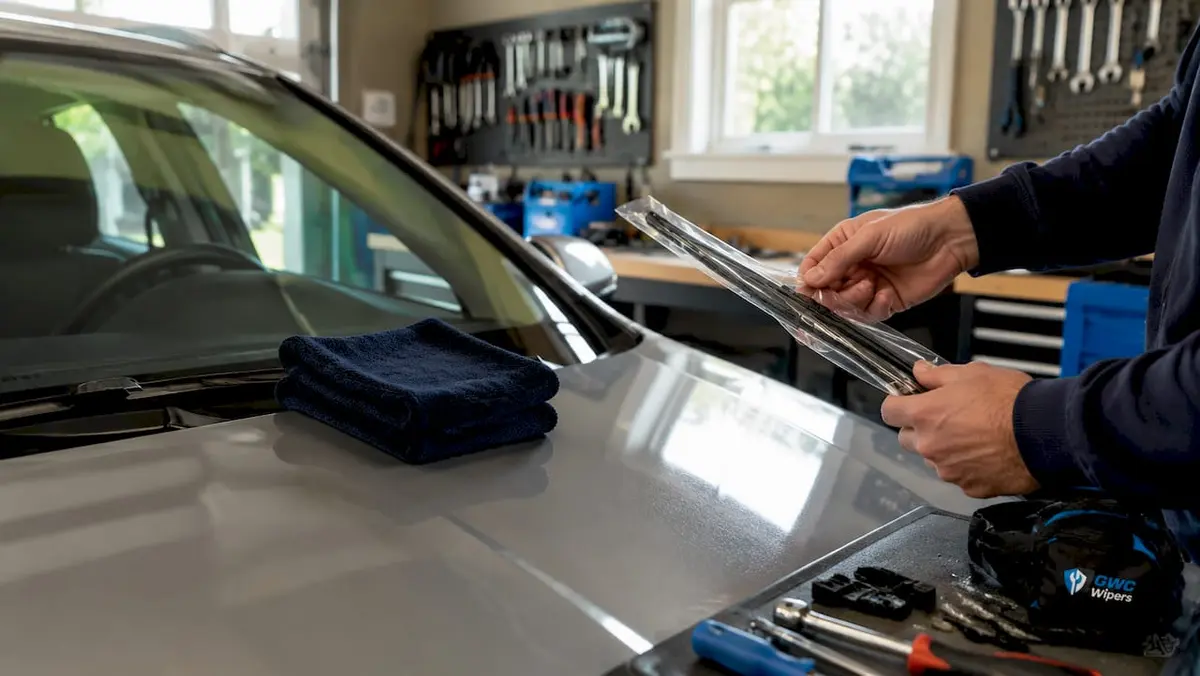
3. Replacement wiper blades: sizing and fit
Replacement wiper blades are the centrepiece of any wiper change tool kit. The driver and passenger sides are almost always different lengths, so measuring both arms before ordering is non-negotiable. You can measure your wiper blades by lifting each arm and reading the length printed on the existing blade, or by measuring from the pivot point to the blade tip with a tape measure.
Beam blades and traditional bracket blades suit different conditions. Beam blades perform better in Australian summer heat because they lack the metal framework that can warp under prolonged UV exposure. Bracket blades are generally more affordable and widely available. Whichever type you choose, confirm the blade is rated for your vehicle’s make, model, and year before fitting.
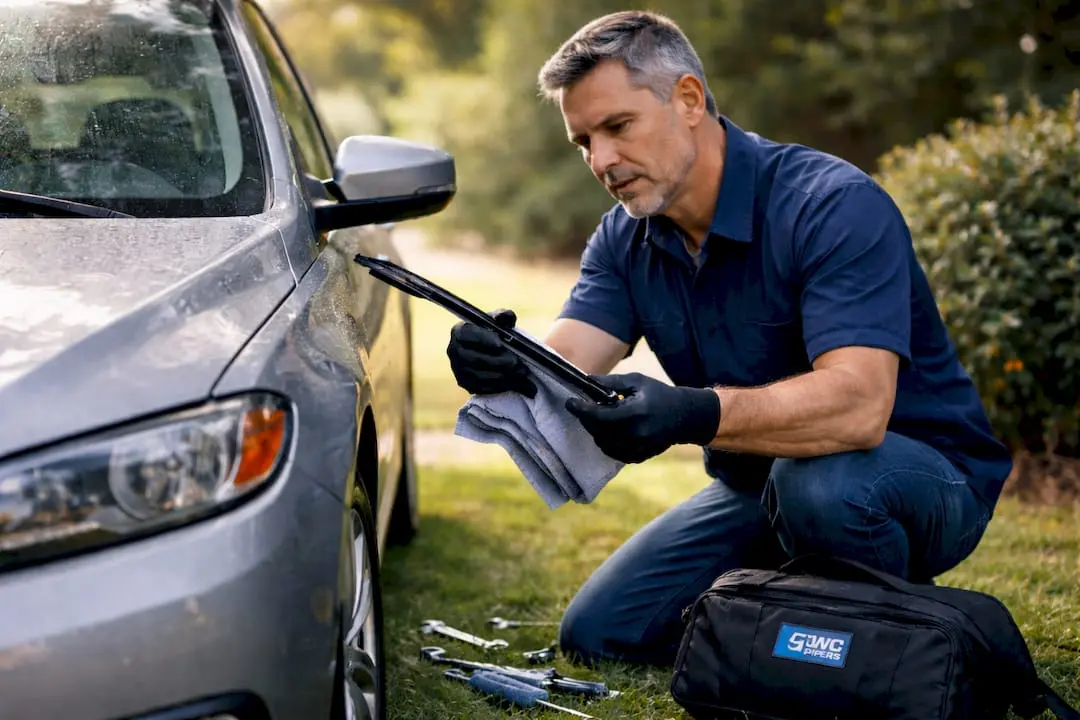
4. Why a folded towel is a non-negotiable protective tool
A folded towel placed on the windscreen beneath the raised wiper arm is one of the most reliable protective measures in a wiper change. Correct towel placement cushions high-energy snapback impacts, which can crack glass even with careful technique. The arm carries significant spring tension, and if it drops unexpectedly while the blade is removed, the bare metal arm hits the glass directly.
EuroCarParts and GEICO both recommend placing an old towel or thick cloth under the arm as standard practice. Fold the towel at least twice to create a firm pad rather than a thin layer. Position it so the entire arc of the arm’s potential fall is covered, not just the area directly beneath the pivot.
Pro Tip: Use a microfibre cloth rather than a rough cotton towel. Microfibre won’t scratch the glass if the arm does make contact, and it absorbs any washer fluid that drips during the process.
Some vehicles have service-position wiper arms or hidden fasteners that require the arm to be held at an unusual angle during blade removal. In these cases, a second folded towel on the bonnet edge provides an additional safety buffer.
5. Hand tools and specialised equipment for stubborn wiper arms
Basic hand tools handle the majority of wiper changes without any drama. Needle-nose pliers give you the control to depress small release tabs without slipping. A flathead screwdriver assists with prying open connector clips on pinch-tab and side-pin types. Small scissors or a craft knife are useful for cutting any cable ties used to secure blade packaging before fitting.
For vehicles with corroded or seized wiper arms, the process requires more. Penetrating oil applied to the wiper arm base and a sit time of 10 to 15 minutes loosens corrosion before you attempt removal. Forcing a seized arm without penetrating oil risks bending the arm or damaging the wiper motor spindle.
When penetrating oil alone is not enough, a mechanical wiper arm puller is the correct tool. The Sealey VS807 wiper arm puller accommodates collar sizes up to 43mm and includes locking features for controlled, damage-free removal. Matching the puller’s collar size to your wiper arm dimensions is critical. A puller that is too large will slip and score the arm; one that is too small won’t engage at all.
Here is a summary of the hand tools and their specific roles:
- Needle-nose pliers: Depress release tabs on pinch-tab and side-pin connectors without damaging surrounding plastic.
- Flathead screwdriver: Lever open stubborn connector clips, particularly on older vehicles where plastic has hardened.
- Penetrating oil (e.g., WD-40 Specialist or CRC Rust Remover): Applied to the wiper arm base to dissolve corrosion before removal.
- Mechanical wiper arm puller (e.g., Sealey VS807): Provides controlled extraction of seized arms without improvised prying that risks bending or cracking components.
Controlled use of penetrating oil and a puller tool is consistently safer and more efficient than improvised methods. Improvising with a large flathead screwdriver or a hammer and block causes cosmetic and structural damage that a puller avoids entirely.
6. How to confirm and test proper wiper blade installation
Correct installation is confirmed through a sequence of checks, not just a visual glance. Follow these steps after fitting each blade:
- Listen for the click. An audible click confirms the adapter is fully seated in the connector. If you don’t hear it, the blade is not locked and will detach at speed or in heavy rain.
- Inspect the adapter visually. Look at the connector from the side to confirm the locking tab has engaged. The blade should sit flush with the arm with no visible gap at the pivot point.
- Lower the arm gently. Do not let the arm snap down onto the glass. Lower it by hand to avoid impact on the fresh blade and the windscreen surface.
- Run the wipers on low speed. Activate the washer fluid and run the wipers through several full cycles at low speed. Watch for any juddering, skipping, or uneven contact across the glass.
- Test at high speed. Increase to the highest wiper setting and check that the blade maintains full contact across the entire sweep arc. Any lifting at the outer edge indicates incorrect blade sizing or a bent arm.
- Check for streaking. Streaks after a fresh blade installation usually mean the windscreen surface has road film or silicone residue. Clean the glass with a dedicated glass cleaner and run the wipers again. Finishing with a clean windscreen and testing new blades prevents misperceived defects like streaks and noise after installation.
If noise or streaking persists after cleaning, check the common causes of wiper blade noise before assuming the blade itself is faulty.
7. Comparison of essential wiper change tools
The table below summarises each tool, its primary benefit, and the situations where it is most needed.
| Tool | Primary benefit | When you need it most |
|---|---|---|
| Replacement wiper blades | Restores clear visibility and wiping performance | Every 6 to 12 months or when streaking begins |
| Folded towel or thick cloth | Protects windscreen from arm snapback damage | Every wiper change, without exception |
| Connector adapters (multi-fit or specific) | Ensures blade locks securely onto the wiper arm | When purchasing new blades for any vehicle |
| Needle-nose pliers and flathead screwdriver | Releases stubborn clips and tabs without damage | Older vehicles or first-time blade removal |
| Penetrating oil and mechanical arm puller | Safely removes corroded or seized wiper arms | Vehicles over five years old or in coastal areas |
Key takeaways
A successful wiper blade change requires the correct replacement blades, a protective towel, the right connector adapter, and basic hand tools, with penetrating oil and a mechanical puller reserved for seized arms.
| Point | Details |
|---|---|
| Connector type comes first | Identify your J-hook, pinch-tab, side-pin, or top-lock type before buying any blades or adapters. |
| Towel protection is non-negotiable | Place a folded towel under the raised wiper arm every time to prevent glass damage from snapback. |
| Penetrating oil needs time | Apply oil to seized arms and wait 10 to 15 minutes before attempting removal with a puller tool. |
| The click confirms correct fit | An audible click during installation is the only reliable confirmation the blade adapter is fully seated. |
| Clean glass prevents false faults | Wipe the windscreen with glass cleaner after fitting to avoid streaks being mistaken for a defective blade. |
What I’ve learnt from years of DIY wiper changes
The single most common mistake I see is people buying new blades before checking their connector type. They arrive home, lift the arm, and discover the adapter in the box doesn’t match the arm at all. That’s a second trip to the shop, or a wait for a new order, and the car sits unusable in the rain. Spend two minutes with your owner’s manual or an online fitment tool first. It costs nothing and saves real frustration.
The towel is the other thing people skip because it feels unnecessary. I’ve seen a bare metal arm drop onto a windscreen and leave a crack that cost far more to repair than the blades themselves. That folded cloth is the cheapest insurance you’ll ever use on your vehicle.
On the puller tool: if you drive a vehicle that’s more than five years old and has never had its wiper arms removed, budget for a proper mechanical puller before you start. Improvising with a screwdriver and brute force is how you bend an arm or strip the spindle. The Sealey VS807 is a reliable option, and knowing the collar size of your arm before you buy ensures it will actually fit. The step-by-step installation process is straightforward once you have the right tools in hand.
My final point is about the finishing steps. Running the wipers dry after installation, or skipping the glass cleaning step, leads people to think their new blades are defective when the problem is a dirty windscreen. Clean the glass, run the washer fluid, and test at both speeds before declaring the job done. Patience in those last two minutes saves a lot of unnecessary returns and second-guessing.
— Faisal
Get the right wiper blades for your Australian vehicle
Com stocks premium wiper blades designed and tested for Australian conditions, from coastal humidity to outback heat and alpine cold. Whether you drive a Toyota or a Mercedes-Benz, the GWC Wipers fitment tool matches your make, model, and year to the correct blade size and connector type in seconds. Every order includes free shipping across Australia, a 30-day money-back guarantee, and a 12-month warranty. You’ve now got the knowledge and the tool list. Pair that with a blade built for your vehicle and the job is done right the first time.
FAQ
What tools do I need to change wiper blades?
The core tools are correctly sized replacement blades, a folded towel for windscreen protection, the matching connector adapter, and needle-nose pliers or a flathead screwdriver. For seized arms, add penetrating oil and a mechanical wiper arm puller.
How do I know which connector type my car has?
Check your vehicle owner’s manual or use an online fitment tool with your make, model, and year. The four main types are J-hook (most common at around 70%), pinch-tab, side-pin, and top-lock.
How long does a wiper blade change take?
A standard wiper blade replacement takes 5 to 10 minutes per blade once you have the correct connector type and tools confirmed. Seized or corroded arms add time due to the penetrating oil wait period of 10 to 15 minutes.
Why are my new wiper blades streaking after installation?
Streaking after a fresh installation is most often caused by road film or silicone residue on the windscreen rather than a faulty blade. Clean the glass thoroughly with a dedicated glass cleaner and run the wipers again before assuming the blade is the problem.
Do I need a special tool to remove a stuck wiper arm?
Yes. A mechanical wiper arm puller like the Sealey VS807 is the recommended tool for seized arms. It provides controlled extraction without the bending or spindle damage that improvised prying causes.