
Five Minute Bayonet Wiper Fix: Pre Fitted Blades or Exact Fit Tools
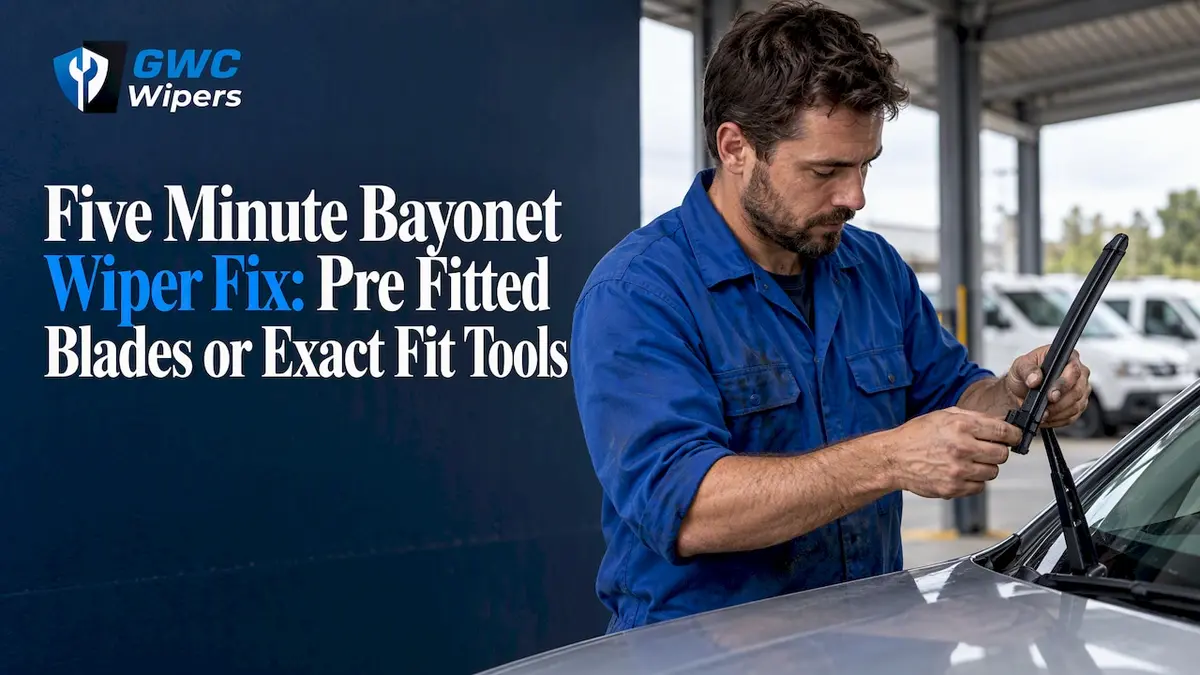
Bayonet arms take bayonet style blades or universal blades fitted with a bayonet adapter. You identify them by the flat slotted post sitting at the end of the arm, with no J hook, side pin or push button in sight. Confirm the exact blade length and connector with a vehicle selector before you buy, and the rest of the job is a five-minute fit.
TL;DR:
- Most vehicles with bayonet arms require a flat, slotted post and a straightforward, straight pull-off method for blade replacement.
- Compatibility depends on matching post thickness, slot position, and backing rail width, which can be confirmed via a vehicle selector tool.
- Pre-fitted blades with the correct bayonet connector reduce the risk of mismatched parts, simplifying installation and ensuring a secure fit.
- Regular inspection, cleaning, and timely replacement every six to twelve months extend blade lifespan and maintain clear visibility.
- Using the vehicle-specific fitment tool from the supplier ensures accurate selection of blade length and connector type, avoiding common fitment errors.
Table of Contents
- How to identify a bayonet wiper arm
- Bayonet adapter types, compatibility and how they fit a blade
- Measure and choose the correct bayonet blade and adapter
- Step by step: removing the old blade and fitting a bayonet blade or adapter
- Troubleshooting common bayonet installation problems
- When and how to maintain bayonet blades
- GWC Wipers fitment tools, installation guides and guarantees
- Author perspective: rule of thumb and recommended workflow
- How GWC Wipers can help: perfect fit by make, model and year
- FAQ
- Sources
How to identify a bayonet wiper arm
A bayonet arm ends in a flat, slotted metal post rather than a curved hook or a thin pin. The blade clips directly onto this post using a spring loaded tab that you press to release, and there’s no visible J shaped hook or small side mounted pin poking through the blade’s connector. If you run your finger along the end of the arm and feel a flat tongue of metal with a small locking hole or slot, you’re almost certainly looking at a bayonet fitting.
A quick tactile check confirms it. Try to slide the existing blade sideways off the arm. On a bayonet setup, it releases with a small tab press and a straight pull, while a hook arm requires you to swing the blade perpendicular to unclip it, and a side pin arm needs the blade levered off a thin cylindrical pin. This kind of hands on check at the arm reliably tells bayonet apart from other connector types.
Run through this before heading to the shops:
-
Flat post, no hook: the arm tip is a flat slotted tongue, not a curved J shape.
-
No visible pin: there’s no thin metal pin running through a hole in the blade connector.
-
Press tab release: a small lever or button on the blade’s underside releases the clip.
-
Straight pull-off: the old blade slides straight off the post rather than swinging free.
Pinch tab and push button arms look similar at a glance but behave differently: a pinch tab connector squeezes inward from both sides of a narrow arm end, and a push button arm has a visible round button on top of the blade that you depress to release a captive pin. Side pin arms are common on older European models and rely on a cylindrical pin through a hole rather than a flat slotted post. If your arm doesn’t match the flat post description, it’s worth checking your connector type against a fitment guide before ordering.
Bayonet adapter types, compatibility and how they fit a blade
Bayonet adapters are small plastic or metal clips that let a universal wiper blade mount onto a bayonet arm. They work by seating over the flat post and locking through the same slot the factory connector would use, so the blade’s backing rail connects to the adapter rather than to a hook or pin fitting. Most universal blade kits include several adapter options in the box, and you fit the one matching your arm’s post width and slot position.
There are two practical routes to a working bayonet fit. A pre-fitted bayonet blade arrives with the correct connector already moulded or clipped onto the backing rail, so there’s no separate adapter to select or assemble, reducing the chance of a mismatched or loosely seated clip. A universal blade plus a separate bayonet adapter kit gives more flexibility across vehicles but adds a step: you need to pick the correct adapter size and orient it correctly before it locks onto the arm.
Before buying either option, check these compatibility points:
- Post thickness: a bayonet post that’s thicker or thinner than the adapter’s opening won’t lock securely.
- Slot position: the locking hole or slot must line up with the adapter’s spring tab.
- Clip orientation: some adapters are handed left and right, so check the arm angle on each side of the vehicle.
- Backing rail width: the blade’s rail needs to match the adapter’s claw spacing to sit flush.
Pre-assembled blades that already carry the correct bayonet connector cut down on the fitting errors that come with mismatched universal adapters, since there’s nothing left to select or misalign once the blade’s out of the packet. If you’re unsure which shape your vehicle uses, a vehicle selector tool that matches your make, model and year removes the guesswork entirely and points you straight to the right part.
Measure and choose the correct bayonet blade and adapter
Getting the length and connector right the first time saves a second trip to the shops. Work through these steps in order:
- Measure both blades separately. Run a tape measure along the full length of each existing blade, driver’s side and passenger’s side, since many vehicles use two different lengths.
- Note the arm’s post thickness and slot shape. A rough callipers check or a side by side comparison with the packaging diagram tells you whether you need a wide or narrow bayonet adapter.
- Cross check with a vehicle selector. Entering your make, model and year against a dedicated vehicle selector confirms the exact length and connector type for both sides without relying on a tape measure alone.
- Decide pre-fitted or adapter kit. Choose a pre-fitted bayonet blade where it’s offered for your vehicle, and fall back to a universal blade with a separate adapter only when no vehicle-specific option exists.
- Buy both blades together. Replacing driver and passenger blades as a pair keeps wear even across the windscreen and avoids one side clearing better than the other.
Run a final check against this list before you pay: correct length for each side, correct connector type confirmed by feel or by the selector tool, pre-fitted blade chosen over a loose adapter where available, and both blades ordered as a pair rather than one at a time.
Step by step: removing the old blade and fitting a bayonet blade or adapter
Before you touch the arm, park on level ground, switch the ignition off and lift both wiper arms away from the glass so you’re not working against spring tension near bare windscreen. Lay a towel or soft cloth over the bonnet or cowl in case the arm slips, since bare metal striking glass can chip it.
Removing the old blade:
- Lift the wiper arm fully away from the windscreen until it locks in the raised service position.
- Locate the small release tab or lever on the underside of the blade, close to where it meets the arm.
- Press the tab and slide the blade down and away from the post in one motion.
- On vehicles with a covered or hidden bayonet connector, check for a small plastic cap that needs sliding back before the release tab is reachable.
Fitting the new bayonet blade or adapter:
- If using an adapter kit, clip the adapter onto the blade’s backing rail first, making sure the claws fully engage both sides before you go near the arm.
- Align the blade’s connector with the flat bayonet post so the locking slot sits over the arm’s spring tab.
- Slide the blade up the post until you hear or feel a firm click, which means the claws have located the catch properly.
- Give the blade a gentle tug along its length to confirm it’s locked rather than just resting on the post.
- Lower the arm back onto the glass slowly, rather than letting it drop, to avoid cracking the windscreen on contact.
Confirming the backing claws are fully engaged matters here. Incomplete engagement on refitting can let the blade work loose at speed, or in the worst case scratch the windscreen glass. Once both blades are fitted, run the wipers through a single wipe cycle using the washer fluid, watching for any judder, lifting or uneven contact along the glass, then repeat once more to be sure the first pass wasn’t just loosening road grime.
Pro Tip: Keep the old blades in the car as a spare set until the new ones have done a full week of driving, in case a connector needs reseating.
Troubleshooting common bayonet installation problems
A freshly fitted blade that judders, streaks or rattles usually points to one of a handful of fixable issues rather than a faulty part.
- Chatter or skipping: often caused by a blade angle that’s slightly twisted on the post, or rubber that hasn’t bedded in yet after a few wipe cycles.
- Streaking or smearing: can come from old rubber residue left on the glass, the wrong washer fluid, or uneven pressure along the blade’s length; a streak diagnosis guide helps narrow down whether it’s the fluid or the blade.
- Loose fit or rattle: usually means the adapter orientation is wrong for that side of the vehicle, or the post thickness doesn’t quite match the clip, letting the blade shift during the wipe stroke.
- Persistent noise after reseating: if repositioning the blade and cleaning the glass doesn’t fix it within a couple of wipe cycles, it’s worth having a workshop check the arm spring tension rather than replacing the blade again.
When and how to maintain bayonet blades
Most bayonet blades need replacing roughly every six to 12 months, though chattering, squeaking, streaking or visible cracking in the rubber are better guides than a date on the calendar, since harsh conditions wear rubber out faster than mild ones. Run your fingers along the blade edge every few months to feel for nicks or hardened rubber before they show up as streaks on the glass.
- Inspect regularly: check both blades for cracking, splitting or a hardened edge every couple of months.
- Use the correct washer fluid: proper screen wash rather than household detergent protects the rubber and avoids speeding up wear.
- Replace in pairs: doing both sides together keeps wipe quality even and avoids one blade clearing better than the other.
- Clean the glass itself: a clarity checklist for keeping the windscreen free of grime helps blades glide rather than drag.
Sun exposure, salt air and heat all accelerate rubber hardening, so vehicles parked outdoors or near the coast often need a shorter interval between changes than the typical range suggests. A streak-free cleaning method for the glass itself, such as the approach Diamondbrite outlines, reduces the grit and residue that wear blades down faster between changes.
GWC Wipers fitment tools, installation guides and guarantees
We built our vehicle selector around make, model and year so you never have to guess at post thickness or blade length yourself. Every listing links back to that same tool, and our detailed replacement guide walks through tool-free installation for pre-fitted bayonet blades step by step. Some sellers offer fitment guarantees, warranties and money-back guarantees to reduce risk if the wrong connector is ordered.
Author perspective: rule of thumb and recommended workflow

Our rule of thumb for this job is simple: identify the arm, measure both blades, confirm the fit with a vehicle selector, then fit and test. Skipping the confirmation step is where most DIY fits go wrong, not the physical clip-on itself, which takes seconds once the right part is in hand.
If a blade still rattles or streaks after a careful refit and a glass clean, that’s the point to hand it to a workshop rather than keep swapping adapters. Keeping a spare blade rubber and a microfibre cloth in the glovebox means a sudden split or a dusty windscreen never catches you out on a long drive.
— Faisal
How GWC Wipers can help: perfect fit by make, model and year
The range is designed to offer options by make, model and year to avoid guessing between bayonet adapters, hook kits or universal clips. Enter your vehicle details into our vehicle selector and we’ll show you the exact pre-fitted bayonet blade or adapter kit for your car, cutting the measuring and connector-matching out of the process entirely.
- Vehicle-specific fitment: search by make, model and year to see the exact blade and connector for your car.
- Pre-fitted bayonet options: many listings arrive with the correct connector already attached, so there’s no separate adapter to fit.
- Backed by guarantees: every order carries a 12-month warranty and a 30-day money-back guarantee, with free shipping across the country.
If you drive a Hilux, our Toyota Hilux wiper blades hub shows the exact fitment for your model year, and the same approach applies across our full wiper blades range.
FAQ
How do you determine what type of adapter to use with a wiper blade?
Check the arm’s end shape first: a flat slotted post takes a bayonet adapter, a curved hook takes a hook adapter, and a thin cylindrical pin takes a side pin fitting. Matching the adapter to the physical shape of your arm, then confirming the length with a vehicle selector, avoids buying the wrong connector twice.
How do I replace bayonet windscreen wipers?
Lift the arm into its service position, press the release tab on the underside of the old blade and slide it off the post, then slide the new bayonet blade on until it clicks into place. Lower the arm gently back onto the glass and run a wipe cycle to confirm the blade sits flush and doesn’t judder.
How do I replace a wiper blade adapter?
Unclip the old adapter from the blade’s backing rail, fit the new adapter so its claws fully engage both sides of the rail, then slide the assembled blade onto the arm’s post until it locks. Give it a gentle tug to confirm it’s seated before lowering the arm.
What are the different types of wiper blade connectors?
The main connector types are bayonet (a flat slotted post), hook (a curved J shaped arm end), pinch tab (a narrow arm that’s squeezed from both sides), push button (a visible button releasing a captive pin) and side pin (a thin pin through a hole in the connector). Identifying which one your car uses is the first step in choosing the correct blade or adapter.