
Damage free pinch tab wiper removal for Australian drivers
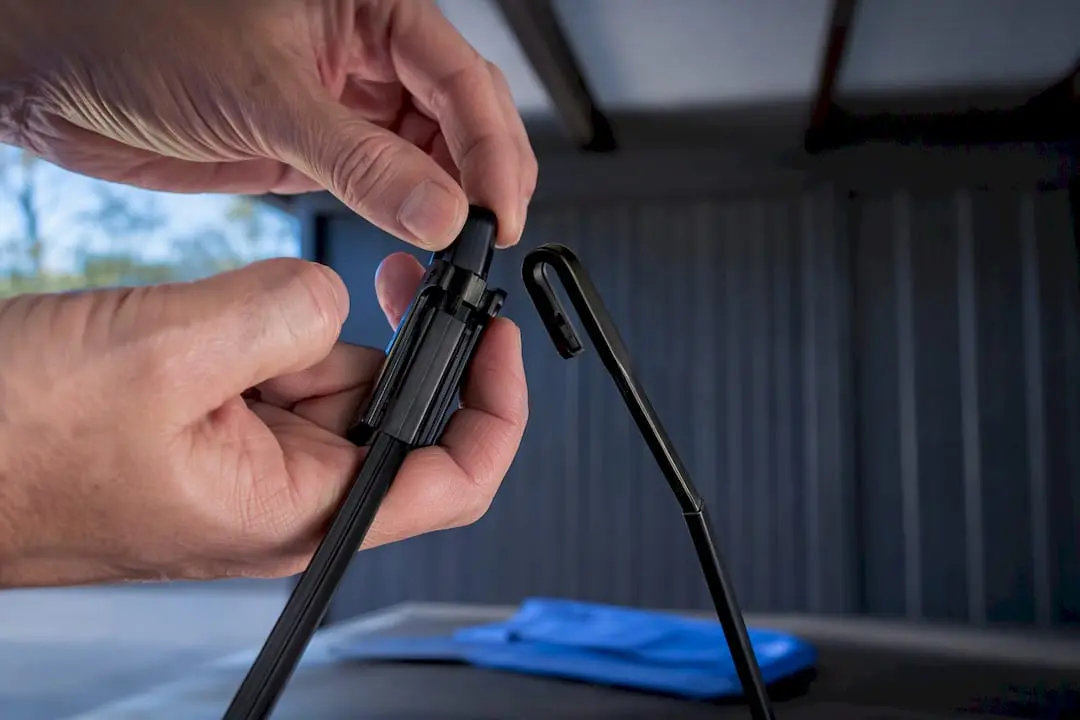
Pinch tab wiper removal comes down to one motion: squeeze both tabs on the connector, tilt the blade away from the arm, and slide it straight off. Never twist or lever the metal arm itself. Once the old blade is off, fit the replacement in the same orientation, listen for the click, give it a light tug, then test with washer fluid rather than running the wipers dry across the glass.
TL;DR:
- Pinch tab wiper blades are released by squeezing the plastic tabs on the connector and sliding the blade straight off, avoiding twisting the metal arm.
- Corrosion from road salt and UV exposure is the main cause of seized connectors, requiring gentle application of penetrating oil and warm cloth to free the blade without damage.
- Properly fitted blades should click securely into place with a distinct sound and should not shift when gently tugged after installation.
- Regularly inspecting rubber condition before and after the wet season prevents streaking and ensures wipers meet safety standards.
- Confirming the exact-fit blade for your vehicle using a dedicated vehicle selector prevents misfits and safety issues, especially for pinch tab connectors.
Table of Contents
- Getting ready: safety checks before you touch the wiper arm
- Step-by-step: releasing the pinch tabs and sliding the blade off
- Stuck tabs, seized arms and broken clips: what to do
- Fitting the replacement blade and running the post-fit test
- When your wiper blades actually need replacing
- Practical fitment tips from Faisal at GWC Wipers
- When DIY makes sense, and when to call it
- Get the right blade the first time with GWC Wipers
- Sources
- FAQ
Getting ready: safety checks before you touch the wiper arm
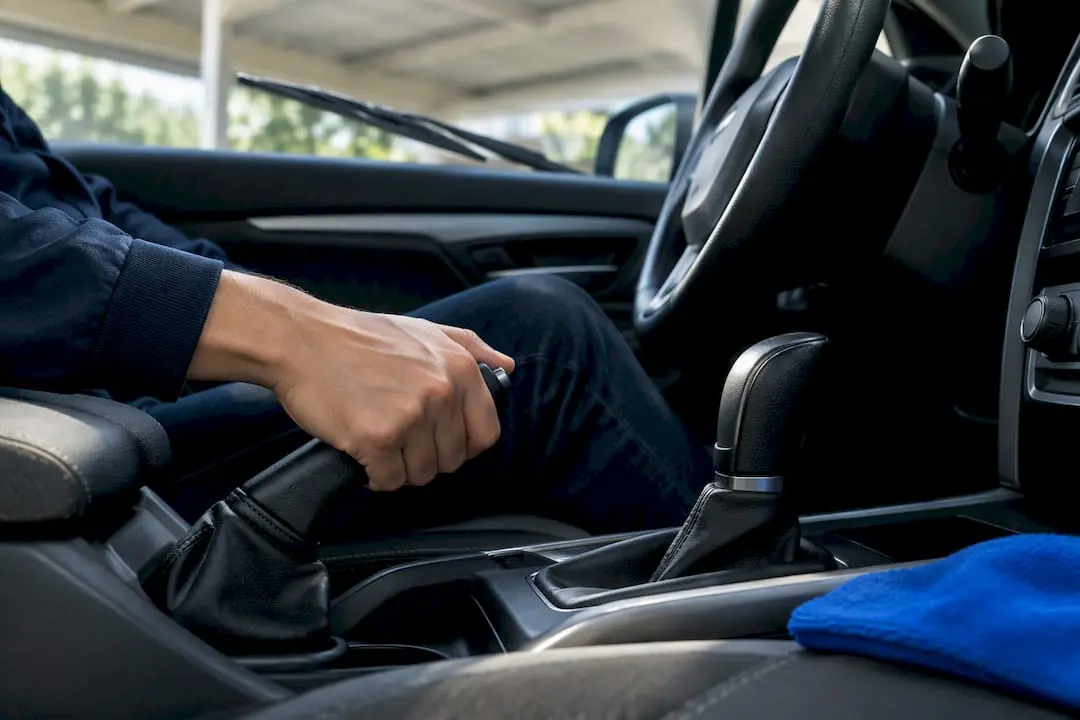
Park on level ground, pull the handbrake, and switch the engine off before you lift any wiper arm. A wiper motor can still cycle if the ignition is on and something brushes the stalk, which is the last thing you want with your fingers near the linkage.
Pinch tab arms have a small plastic tab (or two) sitting on the connector where the blade meets the arm. Squeeze the tab and the blade releases straight off the hook. That’s different from a J-hook fitting, which lifts off a curved hook with no tab to press, and a push-button connector, which releases via a button on top rather than side tabs.
Before you start, gather:
- A soft cloth to rest under the arm and protect the glass
- Light gloves if you’re working with a rubber trim guard or older, gritty rubber
- The correct replacement blade, confirmed against your vehicle’s make, model and year using a vehicle selector
Step-by-step: releasing the pinch tabs and sliding the blade off
Lift the wiper arm away from the windscreen and flip the blade so the rubber faces upward, away from the glass. Steady the arm with one hand the whole time. Metal arms sit under spring tension, and if one slips from your grip it can snap forward and crack the windscreen, according to Practical Motoring’s fitting guide.
- Check for a protective guard. Some beam blades ship with a small rubber guard clipped over the connector for transport, and this needs to come off before the new blade will seat properly.
- Locate the pinch tabs. They sit on the plastic connector where the blade meets the metal hook, usually one on each side.
- Pinch and tilt. Press both tabs inward with your thumb and forefinger, then tilt the blade slightly away from the arm’s axis.
- Slide it straight off. With the tabs pressed, the blade slides cleanly off the hook. No twisting, no yanking.
- Set it aside and repeat on the other arm, but only once the first side is fitted with its replacement. Working one side at a time means you’re never without a working wiper if the weather turns.
Small tabs and clips can pop free during this process, so keep a hand cupped underneath the connector as you slide the blade off. Practical Motoring’s own removal notes specifically warn against twisting or forcing metal tabs, since that’s how tabs snap and arms bend, not how they’re designed to release.
Pro Tip: If the blade doesn’t move the instant you pinch the tabs, stop pressing harder. A pinch tab that’s genuinely released comes off with almost no resistance. Any real force means something’s still catching, and forcing it is how you end up with a bent arm.
Stuck tabs, seized arms and broken clips: what to do
Corrosion is the usual culprit when a pinch tab won’t budge. Road salt, dust, and months of UV exposure can bond the plastic connector to the metal hook, especially on vehicles that sit outdoors year round.
Work through the problem gently, not aggressively:
- Apply a small amount of contact cleaner or penetrating oil to the connector and let it sit for a few minutes.
- Warm the joint with your hands or a warm (not hot) cloth. Plastic softens slightly and often releases without any extra force. Never use an open flame near the wiper arm or windscreen.
- Wiggle the tab gently side to side rather than pulling straight back on the blade.
- If a tab has already broken, stop. Trying to remove a broken-tab blade usually damages the arm hook as well.
Seized connections generally resolve with penetrating spray, controlled warming and patience. Prying hard is the most common cause of bent arms and snapped tabs, and a bent arm often means an uneven wipe pattern for the life of the vehicle, even after a professional straightens it. If you’re stuck at a servo with a genuinely seized connector and a broken blade, secure the loose piece with tape for the short trip home. Driving any real distance with a wiper flapping loose is a road hazard, particularly in rain, so treat it as a get-home fix rather than a long-term one. Our guide on freeing seized wiper arms walks through this in more detail if the connector still won’t shift.
Fitting the replacement blade and running the post-fit test
Slide the new blade onto the connector in the exact same orientation the old one came off, rubber facing the glass, connector aligned with the hook.
- Push the blade onto the hook until you feel and hear a distinct click.
- Give it a light tug away from the arm. It should not move.
- Lower the arm back down onto the windscreen slowly, rather than letting it drop.
A blade that sits on the hook but isn’t actually locked can fail as a safety defect at inspection time, so that click matters more than it might seem.
Once both blades are fitted:
- Spray washer fluid onto the glass and run the wipers through a full cycle. Avoid running new wipers dry across the glass, which can score fresh rubber before it’s had a chance to bed in.
- Watch the full sweep for chatter, skipping, or any zone the blade misses entirely.
- If you see streaking on the first pass, don’t assume the blade is faulty. Recheck that it clicked in fully, or run a proper test after fitting new wipers to isolate the cause. Safe Transport Victoria recommends cleaning the windscreen glass itself before you write off a new blade, since old grime under the rubber causes streaks that look identical to a fitment fault.
If streaking persists after a clean glass and a confirmed click, our streak troubleshooting guide covers the next steps.
When your wiper blades actually need replacing
Cracked, curled, frayed or torn rubber is the clearest sign a blade is finished, and shuddering or streaking across the glass usually means the rubber edge has hardened past the point of doing its job properly.
This isn’t just a comfort issue. Transport for NSW’s light vehicle safety check standards list missing, unsecured, cracked, curled, frayed or torn wiper blades as inspection rejection conditions, and Queensland’s vehicle standards guidance similarly requires operative wipers and washers on registered vehicles.
A simple seasonal habit covers most drivers:
- Check rubber condition before the wet season sets in, when you’ll actually need the wipers working properly.
- Inspect again after a stretch of hot, dry weather, since UV exposure ages rubber faster than most people expect.
- Replace as soon as you notice a drop in performance rather than waiting for a full failure.
Practical fitment tips from Faisal at GWC Wipers
Confirming the right blade before you start saves more return trips than any tool in your kit. Run your rego details through the GWC vehicle selector and pull one blade at a time, so you always have a reference for how the old one sat on the arm.
Keep the replacement blade fully assembled with its adapter attached until the moment you fit it, and set any small clips aside somewhere they won’t roll under the car. If the arm looks visibly bent, or the new blade simply won’t lock onto the hook no matter how you angle it, stop there. That’s a job for a workshop or a message to GWC support, not more force.
When DIY makes sense, and when to call it
Most pinch tab changes are a five minute job with no surprises. The exceptions are seized connectors from corrosion and arms that are already slightly bent, and both are worth recognising early rather than working around.
A proper sweep test with washer fluid after fitting catches almost every problem before it becomes a return trip or, worse, a visibility issue in the rain.
— Faisal
Get the right blade the first time with GWC Wipers
GWC Wipers builds its fitment guarantee around one thing: entering your make, model and year gets you the blade that actually fits your arm, not a generic size that’s close enough. That matters more with pinch tab connectors than most drivers realise, since a slightly wrong width can still click onto the hook while sitting at the wrong angle across the glass.
Run your details through the vehicle selector to see exact-fit options, or jump straight to a model hub if you’re driving one of the country’s most common platforms. Toyota owners can check the Toyota fitment hub, and Ford drivers have their own dedicated Ford fitment hub. Every order ships with a 30-day money-back guarantee and a 12-month warranty, so if a blade ever feels wrong on the arm, you’re not stuck with it. Search your rego now to lock in your Perfect Fit by make, model and year.
Sources
Transport for NSW’s light vehicle safety check standards set the compliance bar for wiper condition, while Safe Transport Victoria covers the washer-fluid test method. Practical Motoring’s wiper blade replacement guide remains one of the clearest independent explanations of the pinch tab sequence, and for glass prep before your post-fit test, Diamondbrite’s streak-free cleaning method is worth a look.
- Light vehicle safety check standards
- Drive Safely This Winter
- How to replace a windscreen wiper blade | Practical Motoring
FAQ
How do I take off pinch tab wiper blades?
Flip the blade so the rubber faces up, pinch both tabs on the connector with your thumb and forefinger, tilt the blade slightly away from the arm, then slide it straight off the metal hook. Never twist the metal arm itself to force it, as that’s the most common cause of bent arms and broken tabs.
How do I put on pinch tab wiper blades?
Slide the new blade onto the connector in the same orientation the old one came off, push until you hear and feel a click, then give it a light tug to confirm it’s locked. Lower the arm gently back onto the glass and test with washer fluid rather than running it dry.
How do I remove pin-style wiper blades?
Pin-style, or side-pin, arms release differently to pinch tab connectors. They typically use a small pin through the arm rather than side tabs on the connector, so check your connector shape carefully before you pull, since forcing the wrong release method risks bending the arm either way.
How do I unclip my windscreen wipers?
Look for the small tabs on the blade connector, usually one on each side, and press them inward while sliding the blade off the hook. If nothing moves with light pressure, the connector may be seized rather than simply clipped, and a penetrating spray or gentle warming will usually free it without damage.
What’s the difference between a pinch tab and a side pin arm?
A pinch tab connector has plastic tabs you squeeze to release the blade from a hook-style arm, while a side pin arm uses a pin running through a hole in the arm itself. Checking your connector before ordering a replacement, using the GWC vehicle selector, avoids buying the wrong attachment type entirely.