
Measure Before You Bend: Test Wiper Arm Spring Tension (0.8–2.0 N)
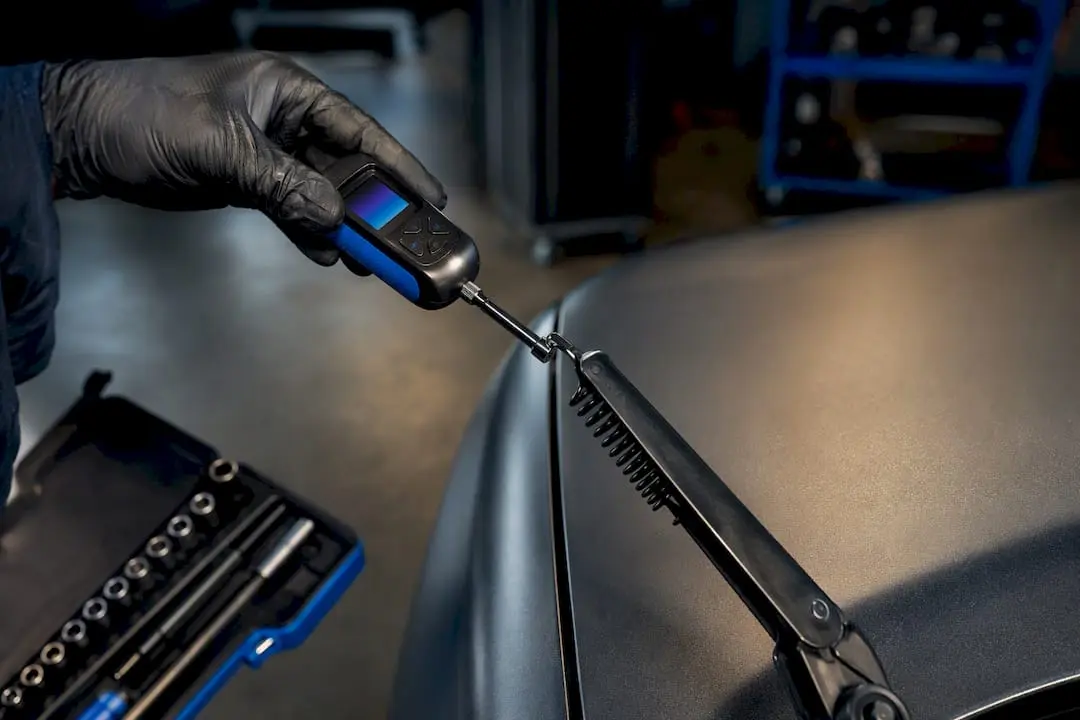
Most wiper arm spring tension problems can be diagnosed, and often corrected, at home with basic tools. Aim for roughly 1 ounce of downforce per inch of blade length, or 0.8 to 2.0 newtons on the engineering scale for typical passenger cars. If the arm shows a stripped spline, a cracked shoulder, or a pivot that won’t free up with lubrication, that’s your cue to stop adjusting and start replacing.
TL;DR:
- Most wiper arm spring tension issues stem from a loose mounting nut or a fatigued spring, rather than from the arm shape or blade quality alone.
- Proper measurement with a force gauge and incremental adjustments are essential to avoid cracking or damaging the arm during tension correction.
- Replacing a worn or damaged arm is often more effective than attempting repeated bends, especially when splines are stripped or the arm shows cracks.
- Regular lubrication of the pivot and cleaning the arm help maintain tension and prevent common issues caused by corrosion and dirt buildup.
- Testing at road speed confirms whether the tension correction is effective, as airflow can lift marginal arms that seem fine in stationary tests.
Table of Contents
- What are the signs of wrong wiper arm spring tension?
- What tools do you need to check wiper spring tension?
- How do you check, adjust and test wiper arm spring tension?
- How do you measure wiper arm spring tension properly?
- When does adjustment stop working and replacement start?
- How do you maintain wiper spring tension over time?
- How do our fitment tools and guides support this?
- A technician’s quick take
- Consider new, correctly fitted blades as an alternative
- Sources
- FAQ
What are the signs of wrong wiper arm spring tension?
If you’ve already cleaned the blades or fitted new ones and you’re still getting streaking, skipping, chatter, or lift at highway speed, the arm’s spring is the likely culprit, not the rubber. These symptoms often persist after blade replacement precisely because the root cause sits in the arm or pivot, not the edge touching the glass.
Before you touch a spanner, run a few manual checks:
- Lift the arm off the glass and let it drop. It should snap back with firm, even resistance, not flop down slowly.
- Press down on the blade mid-sweep and feel for a spongy or uneven push back.
- Look for surface rust or pitting near the pivot and spring housing.
- Check for a visibly bent arm, especially near the elbow joint.
- Wiggle the arm sideways at the pivot to feel for play or binding.
Rule out the obvious first. A quick wiper blade clean or a fresh set of blades sometimes solves what looks like a tension fault. Only move on to arm work once you’ve confirmed the blade itself isn’t the problem.
What tools do you need to check wiper spring tension?
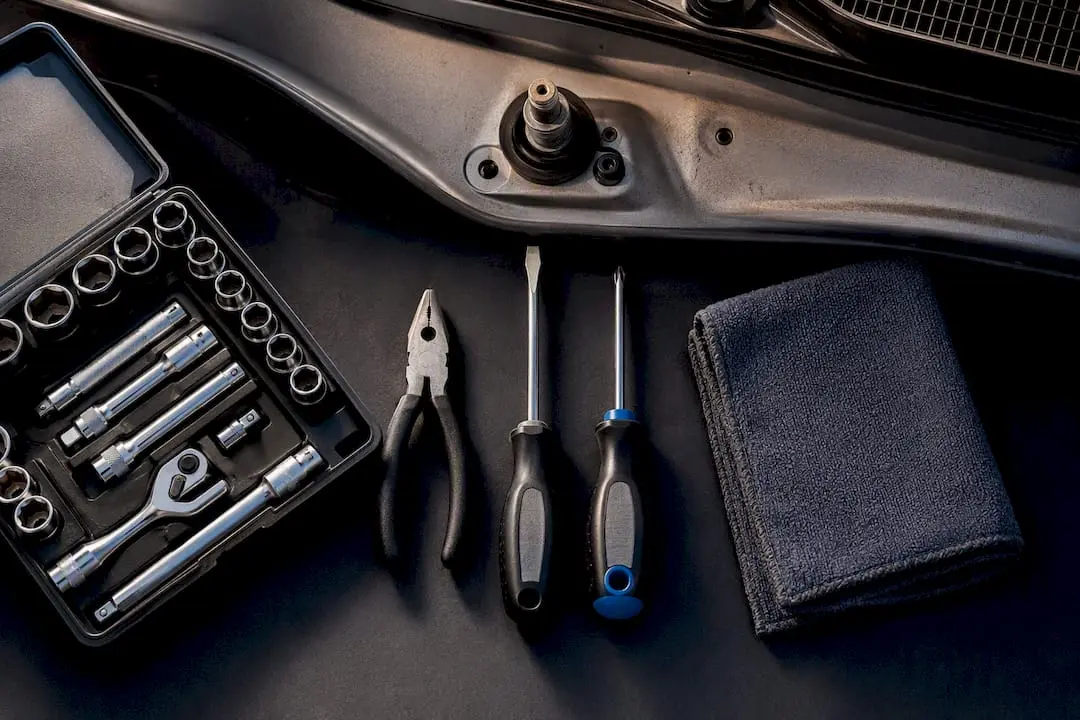
You don’t need a workshop full of gear for this job. A basic socket set, a pair of pliers, a flat and Phillips screwdriver, and a rag to protect the paintwork around the wiper spindle will cover most vehicles.
If you want to move from guesswork to a proper reading, a push-pull force gauge (sometimes sold as a spring scale) is the one extra tool worth buying. It clips onto the blade and gives you an actual number in newtons or ounces, rather than relying on how the arm feels under your thumb.
Before you start:
- Park the wipers in their normal rest position and switch the ignition off.
- Lift the arm away from the glass carefully. Some models need to be pulled into a service or “maintenance” position first.
- Lay a towel or microfibre cloth over the bonnet and cowl to catch any dropped fasteners and protect the paint.
- Wear light gloves. Spring tension can snap an arm shut faster than you expect.
How do you check, adjust and test wiper arm spring tension?
Work through this in order, and don’t skip ahead to bending metal before you’ve ruled out the simpler fixes.
- Rule out the blades. Swap in a known-good blade or give the current one a proper clean. If the symptoms disappear, you’re done.
- Inspect and lubricate the pivot. Check the ACDelco guidance on blade attachment styles and alignment, which flags misaligned attachments as a common cause of chatter. A tiny amount of light grease on the pivot pin often restores what felt like weak spring tension.
- Tighten the mounting nut. A loose nut at the base of the arm is one of the most common causes of play that mimics a weak spring. Snug it up and retest before doing anything else.
- Make a measured adjustment if needed. If tension is still off, remove the arm and support it properly rather than bending it in place. Apply a small, incremental bend near the spring housing, then refit and retest.
- Reassemble and test on the glass. Run the wipers dry (with washer fluid, never bone dry against the glass) and watch the full sweep for even contact.
- Test at road speed. Wind noise and airflow can lift a marginal arm that looked fine stationary, so a short drive is the real proof.
Pro Tip: Make one small bend, then re-measure. A single large bend concentrates stress at one point on the arm and can crack it outright, turning a five-minute fix into a full arm replacement.
Never force a stripped spline onto the spindle, and never keep bending an arm that already shows a kink or a hairline crack near the elbow. Those are replacement jobs, not adjustment jobs.
How do you measure wiper arm spring tension properly?
Guessing by feel gets you close. A push-pull gauge gets you a number you can actually compare against a spec, which is why it’s the method worth learning even if you only use it once a year.
The test itself is simple: position the blade at the middle of its sweep, hook the gauge under the tip, and lift straight up about 10 mm while reading the force perpendicular to the glass. Compare that figure against the typical passenger car range of 0.8 to 2.0 newtons, adjusted for your arm’s length.
Quick reference: A handy rule of thumb, if you don’t have a gauge handy, is roughly 1 ounce of downforce per inch of blade length. A 20 inch blade should feel like it’s pushing down with about 20 ounces of force at the tip.
- A reading below roughly 75% of the expected figure usually points to a fatigued spring that needs replacing and not just adjusting.
- A reading noticeably above the typical range suggests excessive tension, which accelerates blade wear and can strain the wiper motor over time.
When does adjustment stop working and replacement start?
Some faults simply won’t respond to a socket and a careful bend. If you’re seeing any of the following, replacement is the more sensible path:
- Stripped splines on the spindle, where the arm no longer grips the shaft securely no matter how tight the nut goes.
- A spring that’s visibly fatigued or has lost most of its coil tension, often after years of UV exposure and heat cycling.
- A cracked arm, particularly near the elbow bend or the spring housing.
- A pivot that stays stiff or gritty even after lubrication, which usually means internal corrosion.
Manufacturer technical notes generally recommend replacing arms with binding pivots or broken tension springs rather than persisting with repeated bends. Depending on the arm, you can sometimes swap just the internal spring, which takes basic hand tools and half an hour. A full arm replacement is usually just as quick and removes any doubt about hidden fatigue.
If you’re not confident about torque specs for the mounting nut, or the spindle looks stripped, hand it to a mechanic. Some manufacturers specify a torque-then-angle-turn sequence for the mounting nut that’s easy to get wrong with a standard socket set, and an over-tightened nut can strip the spline just as easily as a loose one loosens it over time.
How do you maintain wiper spring tension over time?
A few minutes of upkeep at each service interval stops most tension issues before they start. Clean the arm and pivot area with mild soapy water rather than harsh solvents, which can dry out rubber seals around the pivot and accelerate corrosion. The same rule applies to the glass itself: a genuinely clean windscreen means less resistance dragging on the spring with every pass.
- Wipe down the arm and pivot housing, avoiding the blade rubber itself.
- Apply a small amount of light grease to the pivot pin only, never near the blade or glass contact area.
- Check torque on the mounting nut every service interval, particularly after winter road grit builds up.
- Reset the park position if the arm sits crooked after any adjustment.
Pro Tip: If a spring is only mildly weak, a clip-on booster spring is a reversible way to add downforce without touching the arm’s shape. It’s a mild correction, not a fix for a cracked or heavily corroded arm.
How do our fitment tools and guides support this?
Diagnosing a tension problem is easier once you know the blade itself isn’t lying to you. A vehicle selector tool can match the exact blade length and attachment type for many makes and models, which removes one variable from the equation before you start testing the arm.
Our installation guides walk through fitting a new blade correctly, resetting the park position, and spotting noise caused by chatter rather than a genuine spring fault. Many premium blades come with warranties and money-back guarantees, so testing a correctly fitted blade against your existing arm carries no real risk if it turns out the arm was fine all along.
A technician’s quick take
Most of what looks like a failed spring is actually a dirty pivot or a loose nut, and I’d check both of those before I touched a bending tool. Aggressive bending is where DIYers get into trouble: one heavy-handed adjustment concentrates stress at a single point and cracks the arm, turning a free fix into a $30 part.
Measure when you can. A gauge reading against a known range beats a thumb test every time, and it stops you chasing a problem that was never really there.
— Faisal
Consider new, correctly fitted blades as an alternative
If you’d rather skip the bending and measuring altogether, a correctly fitted, high-quality blade often clears up what looks like a tension fault, since fresh rubber and proper spring contact do most of the work an ageing arm can no longer manage on its own.

A vehicle selector matching exact fitment for many models helps avoid guessing blade length or attachment type before purchase. Many suppliers offer free shipping, money back guarantees, and warranties, so there’s no risk in testing a new blade before deciding whether the arm itself needs work. Browse premium wiper blades built for local conditions, or jump straight to your make’s fitment page to find the exact match for your car and get it sorted this week.
Sources
- Wiper arm spring tension: The spec behind blade lift - LELION
- ACDelco windshield wipers manual (technical extract)
- Adjust windshield wiper tension & fix noise fast | Runex
- Wiper arm spring tension issues — diagnosis & repair guide | Carsymp
FAQ
How do you adjust tension on a wiper arm?
Start by tightening the mounting nut, since a loose fitting is often mistaken for a weak spring. If tension is still off, remove the arm, support it properly, and apply small incremental bends near the spring housing, retesting the force after each one rather than making one large adjustment.
Do wiper arm spring tension springs wear out?
Yes. Years of UV exposure and heat cycling gradually fatigue the coil, and a spring that once held 0.8 to 2.0 newtons of force can drop well below that range over time.
Why isn’t my windshield wiper arm moving?
Before assuming a motor fault, check that the arm isn’t simply seized at the pivot from corrosion or dried grease. Lubricating the pivot point often frees an arm that looked completely stuck, and it’s worth trying before you assume the wiper motor itself has failed.
How do I tighten a sagging rear wiper arm?
A sagging rear arm almost always points to a loose mounting nut or a fatigued spring inside the arm housing. Tighten the nut first and retest; if the arm still sags, an internal spring swap or a full arm replacement, paired with a correctly fitted blade, usually resolves it.