How to fit wiper blades in an auto shop: flawless results
TL;DR:
- Proper fitting ensures wipers perform reliably and maintains safety during heavy rain or storms.
- Choosing silicone and beam blades suits Australian climate and enhances durability significantly.
- Correct installation, arm condition, and thorough testing prevent streaks, chatter, and costly damages.
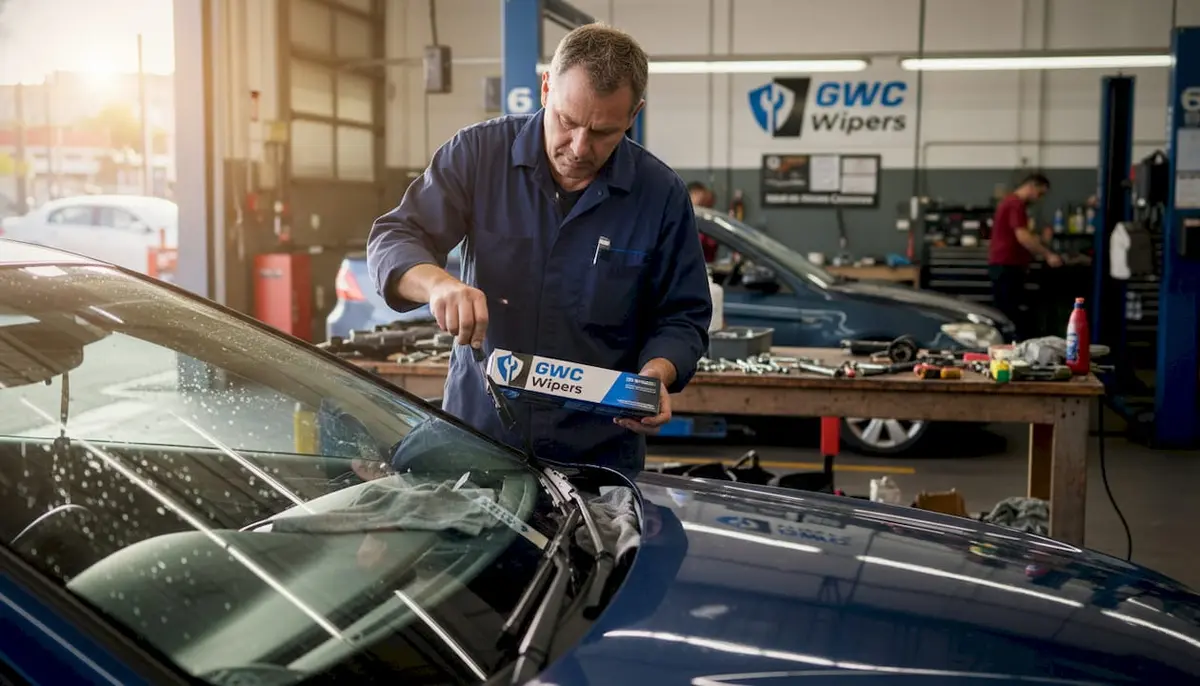
Streaky wiper blades are more than a nuisance. In heavy summer rain or during a sudden Queensland storm, poor wiper performance can reduce visibility to nearly zero within seconds. For fleet operators running vehicles across long regional routes, or private owners who rely on their cars daily, a badly fitted wiper blade means both a safety risk and unnecessary cost. Getting the fitting process right the first time saves money, protects your windscreen, and keeps everyone on the road safer. This guide walks you through everything you need, a precise step-by-step process, common mistakes to avoid, and how to verify a professional-grade result.
Table of Contents
- What you need for a professional wiper fitting
- Step-by-step auto shop wiper blade fitting process
- Common fitting mistakes and troubleshooting tips
- Testing and verifying a successful fit
- What most guidebooks don’t tell you about shop wiper blade fitting
- Get the best fit for your car or fleet
- Frequently asked questions
Key Takeaways
| Point | Details |
|---|---|
| Choose high-performance blades | Silicone and beam styles give the best results and longevity in Australian weather. |
| Follow precise steps | A systematic fitting process prevents safety issues and premature wear. |
| Check and verify | Always test new blades for clear, silent performance before finishing up. |
| Troubleshoot smartly | Correcting arm angle and fit solves most workshop errors without risky bending. |
What you need for a professional wiper fitting
With your safety and performance goals in mind, it’s important to gather exactly what you’ll need before fitting. Rushing into the job without the right tools leads to scratched glass, incorrect fitment, or blades that fail within weeks. Preparation is what separates a professional result from a frustrating one.
Tools and materials to have ready:
- Soft microfibre towels (at least two)
- Clean nitrile gloves to protect both your hands and the blade rubber
- Needle-nose pliers for stubborn locking tabs
- A mild glass cleaner and lint-free cloth
- The correct replacement blades for your specific make, model, and year
- Safety glasses if working in dusty or windy conditions
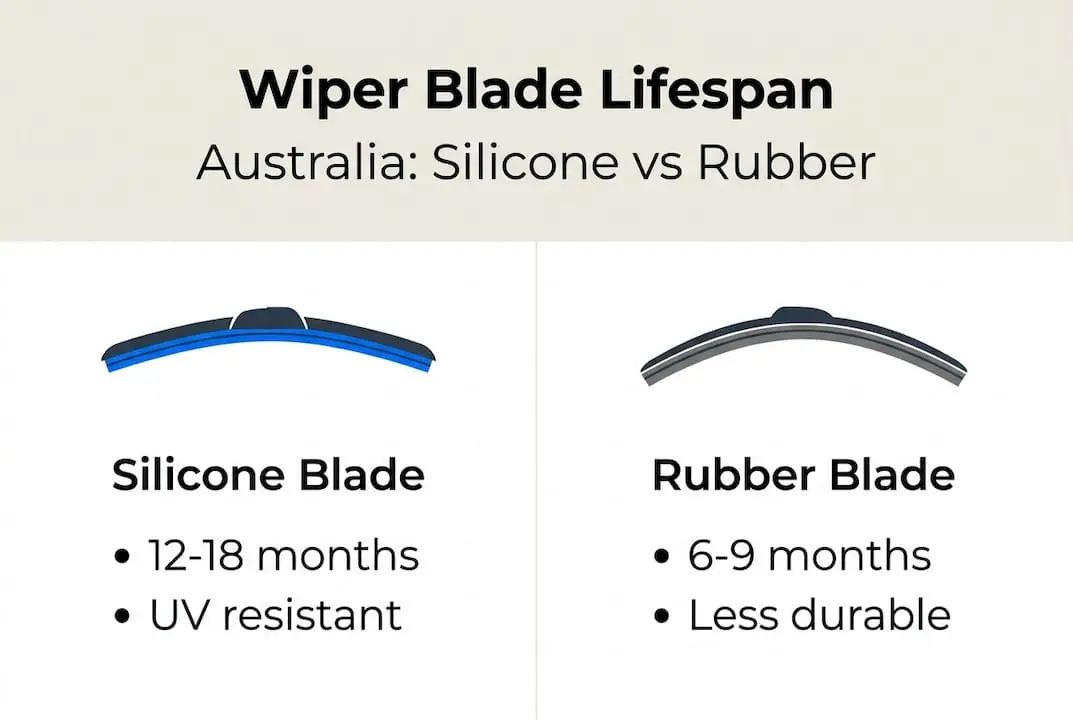
Choosing the right blade type is just as important as having the right tools. For Australian conditions, two comparisons matter most: silicone versus rubber, and beam (frameless) versus traditional framed blades. Silicone blades outperform rubber in Australian UV, heat, and dust, lasting 12 to 18 months compared to just 6 to 9 months for standard rubber. Beam blades distribute pressure evenly across the entire windscreen, which makes them ideal for highway driving and variable weather. Understanding local wiper blade durability helps you select a product built to withstand Australian conditions rather than one designed for milder European or North American climates.
The Australian climate impact on blade materials is significant. UV radiation breaks down rubber compounds faster here than almost anywhere else, which is why silicone is consistently the preferred material for vehicles parked outdoors or operated in northern and inland regions.
Blade type comparison table:
| Blade type | Best for | Lifespan (AU) | Weather performance |
|---|---|---|---|
| Silicone beam | Highway, all-weather | 12 to 18 months | Excellent |
| Rubber beam | Mixed urban/regional | 9 to 12 months | Good |
| Rubber framed | Budget/short-term | 6 to 9 months | Moderate |
| Silicone framed | Urban daily use | 10 to 14 months | Very good |
Always confirm the correct blade length using your vehicle’s owner manual or a reliable fitment tool before purchasing. A blade that is even 10mm too long can contact the windscreen seal and cause damage over time. You can also review windshield wiper adjustment tips to understand how arm angle and blade length interact.
Pro Tip: Lay a folded towel under the wiper arm before you begin. If the arm snaps back without a blade attached, it hits the glass with significant force and can crack or chip the windscreen instantly.

Step-by-step auto shop wiper blade fitting process
Once you’ve assembled everything needed, follow these precise steps for a flawless fit. A methodical approach ensures the blade seats correctly the first time and performs consistently throughout its service life.
- Activate service mode (if available). Many modern vehicles, including most Toyota and Volvo models, have a wiper service position accessible through the dashboard menu. This locks the arms in a raised, accessible position. If your vehicle lacks this feature, turn the ignition off mid-cycle to park the arms upright.
- Place your towel under the arm. This protects the glass if the arm falls.
- Lift the arm to the vertical position. It should hold there under spring tension.
- Locate the locking tab. Most hook-style connections have a small plastic tab near the pivot point. Press or slide it to release the old blade.
- Remove the old blade. Slide it downward and away from the hook. Place it aside immediately so it doesn’t scratch the paintwork.
- Clean the wiper arm and glass. Use glass cleaner on the windscreen surface and a dry cloth on the arm itself. Remove any debris, old rubber residue, or oxidised material from the hook connection.
- Attach the new blade. Align the connector with the hook, then press firmly until you hear or feel a distinct click. This confirms the locking tab has engaged properly.
- Lower the arm gently. Never let it snap down under spring pressure as this can crack the glass or stress the new blade’s connector.
- Repeat for the second front blade and the rear blade (if applicable).
- Test immediately. Activate the wipers and run them through at least three full cycles at low and high speed, ideally with washer fluid applied to the glass.
For a thorough reference, the step-by-step installation guide covers connector variations across different vehicle types. It’s also worth consulting an expert fitting technique resource for arm angle specifics. As a general benchmark, replace wiper blades every 6 to 12 months and test thoroughly after each installation.
Pro Tip: Before fitting the new blade, wipe the rubber edge of the new blade with a damp cloth. Removing manufacturing residue from the rubber surface helps it glide smoothly and extends performance from the first use.
Common fitting mistakes and troubleshooting tips
Even with careful preparation and step-by-step work, a few key issues can trip up even experienced fitters. Knowing what to look for before and after fitting saves you time, money, and a second trip back to the vehicle.
The most common fitting errors include:
- Wrong blade size. Even one size off in either direction causes incomplete sweep or contact with the A-pillar trim.
- Locking tab not fully engaged. If the blade clicks loosely or moves laterally on the arm, the tab hasn’t seated. This causes the blade to detach at highway speed.
- Incorrect arm angle. The arm should contact the glass at 90° for chattering prevention, meaning the blade lies flat across the entire sweep arc. If the arm has been bent or was replaced with a non-OE (original equipment) part, the angle may be off.
- Skipping glass cleaning. Fitting a new blade onto a contaminated windscreen immediately degrades the rubber edge.
- Forgetting the rear blade. Rear wiper blades often use different connectors and sizes. Always check rear blade fitment separately.
If you notice chattering (a skipping or vibrating motion during sweep), start by checking the arm angle. Chattering nearly always points to the blade not lying flat. If adjustment doesn’t resolve it, the arm itself may be fatigued or bent out of spec.
“Incorrect arm angle is a leading cause of wiper chatter and streaking. Adjusting spring tension can help, but for persistent issues, replacing the arm is the safer option rather than bending it repeatedly.”
Streaks that appear even with a brand-new blade usually indicate either glass contamination or a blade with a slight warp from incorrect storage. For DIY troubleshooting steps, reviewing common arm and connector issues helps you solve problems quickly. Keeping track of wiper replacement frequency also ensures you’re not troubleshooting a blade that simply needs to be retired.
Pro Tip: If the arm itself is corroded, pitted, or shows stress cracks near the pivot, request the customer or fleet manager approves arm replacement at the same time. Fitting a premium blade onto a compromised arm wastes the investment entirely.
Testing and verifying a successful fit
With everything fitted and checked, here’s how to confirm the work meets professional standards. Verification isn’t optional; it’s what separates a reliable result from one that fails on a wet highway three days later.
Signs of a successful fit:
- A clean, streak-free arc across the entire sweep zone, from bottom rest position to full extension
- Even pressure across the blade, with no lifting at the edges or centre
- No audible chattering, squeaking, or skipping at any wiper speed
- The blade sits flat against the glass with no visible gap along its length
- The connector is flush and shows no lateral movement when the blade changes direction
Run the wipers through at least three full cycles at low speed first, then switch to high speed. Apply a generous spray of washer fluid to simulate wet weather. If the sweep is clean at both speeds, the fit is confirmed. For vehicles with a rear wiper, test it separately. Rear blades often have a shorter arc and a different arm tension, so results need to be verified independently.
As a benchmark, silicone blades last 12 to 18 months in Australian conditions, while rubber blades average 6 to 9 months. If a blade that’s only a few months old is already showing poor performance, it’s worth revisiting the arm condition and glass cleanliness rather than immediately replacing the blade again.
For more detail on what to measure and how to interpret sweep patterns, the wiper performance testing resource covers objective criteria for assessing blade quality. You can also reference the wiper blade testing procedure from AAA for a benchmark comparison.
Pro Tip: Ask the vehicle owner to test the wipers in the next rain event and report back. Real-world conditions reveal subtle issues that workshop testing can miss, particularly at motorway speeds or in light drizzle where blade pressure and glass contact are more critical.
What most guidebooks don’t tell you about shop wiper blade fitting
To round things off, it’s worth considering practical insights that standard guides usually miss. Most fitting instructions focus entirely on the mechanical process, and that’s fair. But in a real workshop, the blade itself is rarely the only variable.
Arm condition is the factor that overrides everything else. A slightly fatigued arm with reduced spring tension will cause a premium silicone blade to perform worse than a cheap rubber blade on a healthy arm. We’ve seen this repeatedly in real-world jobs. The textbook says fit the blade and test. The workshop reality is that you should inspect the arm before ordering the blade.
Driver habits also matter more than most guides acknowledge. Vehicles used for highway driving accumulate much more arm stress than city vehicles. The persistent chatter from incorrect angle is a symptom that often traces back to the driver running wipers on a dry screen. That single habit accelerates arm wear significantly.
The right call isn’t always the most convenient one. Sometimes the professionally correct recommendation is to replace the arm, source an OE-spec blade, and charge accordingly rather than push through with a non-ideal fit. That honesty is what builds long-term trust with fleet accounts and repeat customers alike.
Get the best fit for your car or fleet
Ready for a flawless fit? Here’s how to make the next step hassle-free.
At GWC Wipers, we’ve built every product around Australian driving conditions, from coastal humidity to outback dust and alpine cold. Our vehicle selector makes it simple to find the right blade for your exact make, model, and year, so you’re never guessing about fitment.
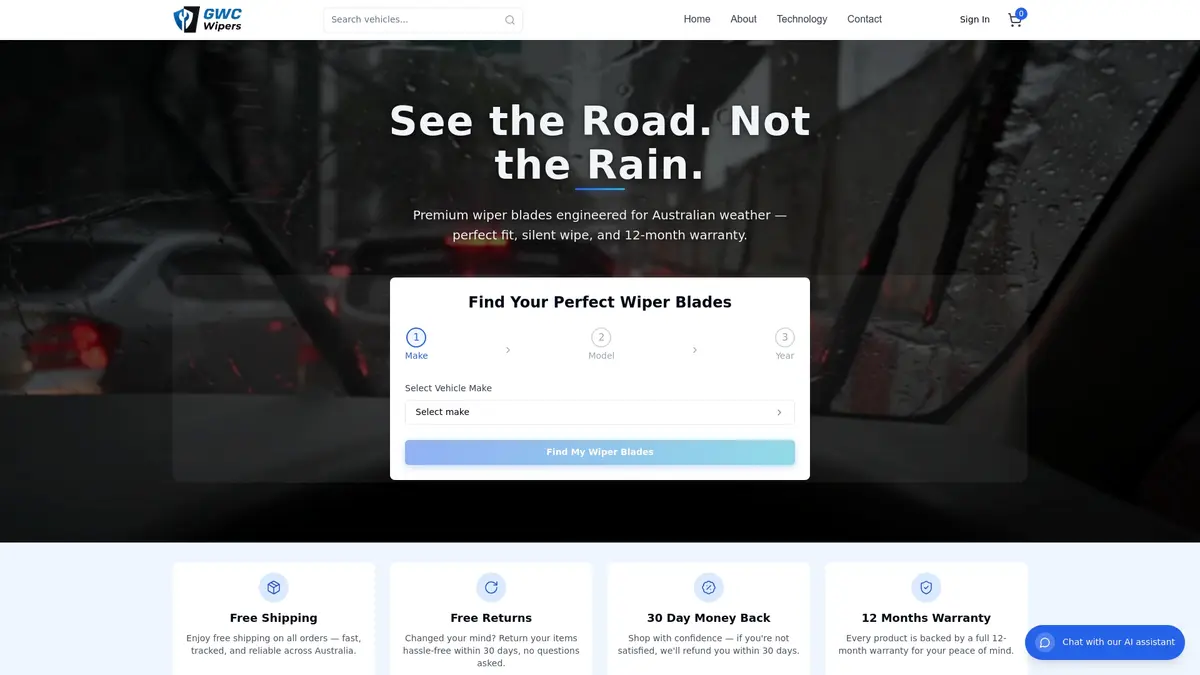
Whether you’re fitting a single vehicle or managing a fleet, our range covers a wide variety of makes. Browse our Toyota wiper blades or find the right match with our Volvo wiper blades selection. Every order includes free shipping across Australia, a 12-month warranty, and a 30-day money-back guarantee. When fitment matters, shop with the specialists who understand Australian roads.
Frequently asked questions
How often should wiper blades be replaced on Australian roads?
Wiper blades should be replaced every 6 to 12 months in Australia, or sooner if performance drops due to dust and UV exposure.
Are silicone or rubber wiper blades better for harsh Australian conditions?
Silicone blades outlast rubber in Australia thanks to greater UV and heat resistance, making them the better choice for local conditions.
What is the most common mistake in auto shop wiper fitting?
Not aligning the arm angle properly is the most frequent error; always confirm the arm sits at 90° to the glass to prevent chattering and streaks.
Is it worth fitting rear wiper blades at the same time?
Yes, replacing rear blades with the fronts ensures consistent performance, but always check fitment separately as rear blades require specific fit types that differ from front blades.
When should a professional handle wiper fitting instead of DIY?
If you notice arm or motor problems, or feel uncertain about the process, it’s safest to have a workshop handle it as shops handle complex cases involving motor or linkage issues.